- Get Started with Attack Surface Insights
- View Entities in Attack Surface Insights
- Search for Entities in Attack Surface Insights
- Edit Entities in Attack Surface Insights
- Entity Attributes
Create an Attack Surface Insights Rule
To automatically tag and assign a security criticality to entities as events are processed, create an Attack Surface Insights rule.
You can also manually edit the tags and security criticality for an individual entity.
You can create a rule from scratch or using a search query as a starting point.
Create an Attack Surface Insights Rule from Scratch
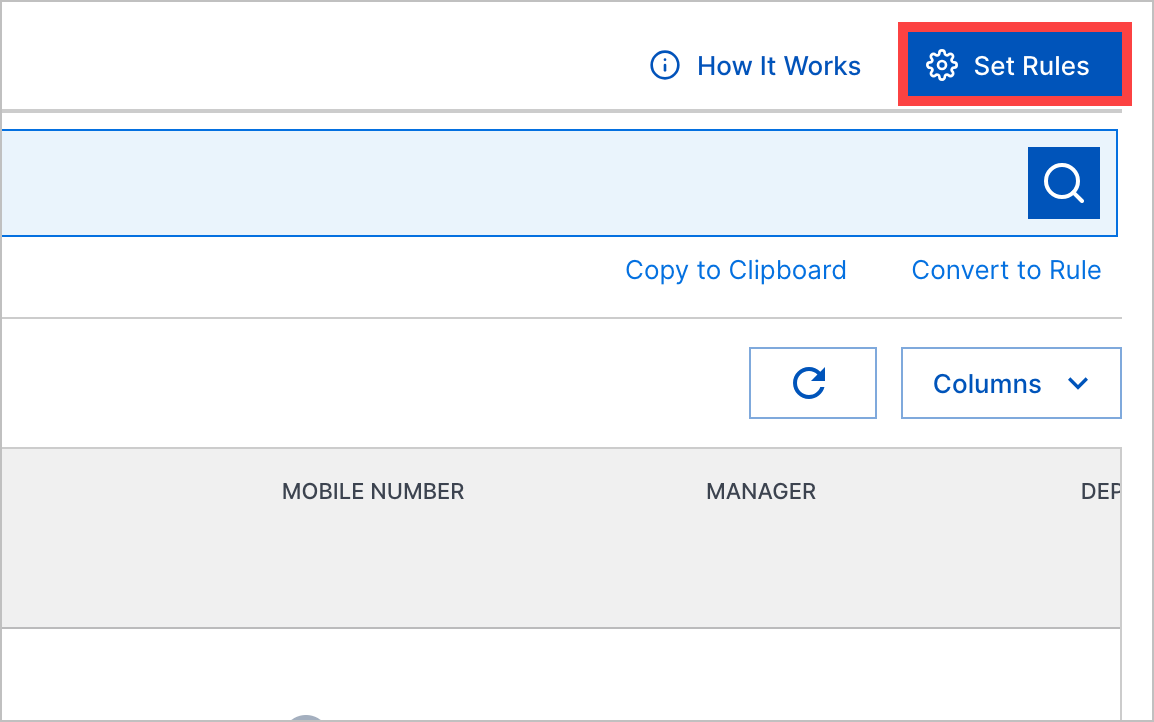
Click Set Rules.

Navigate to the tab for the entity type for which you're creating a rule.
To create a rule for user entities, navigate to the Users tab.
To create a rule for device entities, navigate to the Devices tab.
Click + New Rule, then define the rule:
Rule name – Enter the rule name.
Description – Enter a description of the rule.
Entity Type – Verify the entity type to which the rule applies.
Condition – Determine the events on which your rule triggers using search. Like searching for an entity, you can choose to build or enter a query.
Actions – Specify the tags and security criticality assigned to relevant entities when the rule triggers.
In Tags, specify up to 20 tags. Select from the list of existing tags or create a new one. To create a new tag, start typing, then click Add "<tag>".
In Security Criticality, select a security criticality: Low, Medium, or High.
Enabled – If the rule is automatically enabled after it's created, select the checkbox.
Click Save.
Create an Attack Surface Insights Rule from a Search Query
To create a rule from a search query, you first search for entities of interest and use the search results to verify the entities to which the rule applies. When you continue to define the rule, the rule condition is automatically populated with the search query.
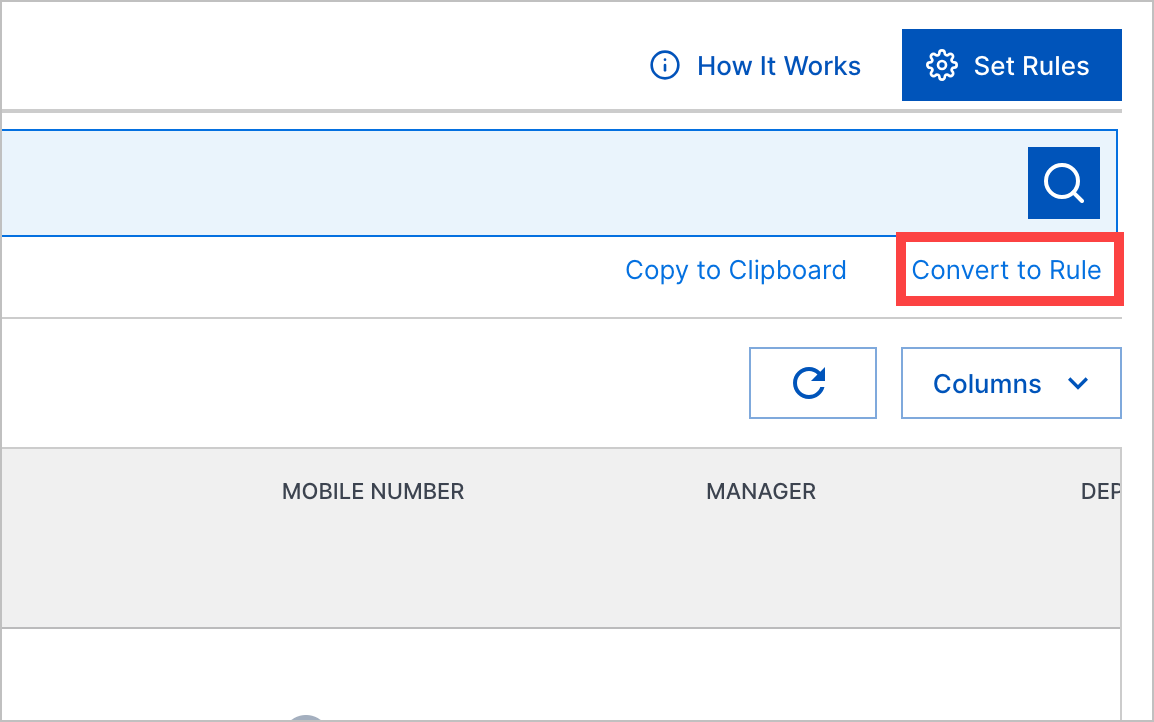
In Attack Surface Insights, search for entities of interest, then click Convert to Rule

Define the rule:
Rule name – Enter the rule name.
Description – Enter a description of the rule.
Entity Type – Verify the entity type to which the rule applies.
Condition – The rule condition uses a search query to determine the events on which your rule triggers. Because you converted a search query to a rule, the rule condition is automatically populated with that query. To adjust the query, continue building or entering query parameters.
Actions – Specify the tags and security criticality assigned to relevant entities when the rule triggers.
In Tags, specify up to 20 tags. Select from the list of existing tags or create a new one. To create a new tag, start typing, then click Add "<tag>".
In Security Criticality, select a security criticality: Low, Medium, or High.
Enabled – If the rule is automatically enabled after it's created, select the checkbox.
Click Save.