- Exabeam Data Lake Architecture Overview
- Exabeam Product Deployment in On-premises or Virtual Environments
- Administrator Operations
- User Management
- Exabeam Data Lake Role-based Access Control
- Exabeam Data Lake Object-based Access Control
- Exabeam Data Lake Secured Resources Overview
- Third-Party Identity Provider Configuration
- Audit Log Management in Data Lake
- Common Access Card (CAC) Authentication
- Set Up LDAP Server
- Set Up LDAP Authentication
- Azure AD Context Enrichment
- Adding a User to Exabeam Data Lake
- User Password Policies
- User Engagement Analytics Policy
- Exabeam Threat Intelligence Service
- Threat Intelligence Service Prerequisites
- Connect to Threat Intelligence Service through a Proxy
- View Threat Intelligence Feeds
- Threat Intelligence Context Tables
- View Threat Intelligence Context Tables
- Assign a Threat Intelligence Feed to a New Context Table
- Create a New Context Table from a Threat Intelligence Feed
- Using Threat Intelligence Service with Data Lake
- Check ExaCloud Connector Service Health Status
- Index Management
- Parser Management
- Forwarding to Other Destinations
- Syslog Forwarding Management in Exabeam Data Lake
- Syslog Forwarding Destinations
- Configure Log Forwarding Rate
- How to Forward Syslog to Exabeam Advanced Analytics from Exabeam Data Lake
- How to Forward Syslog from Exabeam Data Lake to Non-Exabeam External Destinations
- Exabeam Data Lake Selective Forwarding using Conditions
- How to Configure Exabeam Data Lake Log Destinations for Correlation Rule Outcomes
- Forward Exabeam Data Lake Incident to Exabeam Incident Responder
- Syslog Forwarding Management in Exabeam Data Lake
- Cluster Operations
- Cross-cluster Search in Exabeam Data Lake
- Prerequisites for Exabeam Data Lake Cross-cluster Search
- Remote Cluster Management for Exabeam Data Lake Cross-cluster Search
- Register a Remote Cluster in Exabeam Data Lake for Cross-cluster Search
- Exabeam Data Lake Cross-cluster Health Monitoring and Handling
- How to Enable/Disable/Delete Exabeam Data Lake Remote Clusters for Cross-cluster Search
- Exabeam Data Lake Remote Cluster Data Access Permissions for Cross-cluster Search
- System Health Page
- A. Technical Support Information
- B. List of Exabeam Services
- C. Network Ports
- D. Supported Browsers
Index Management
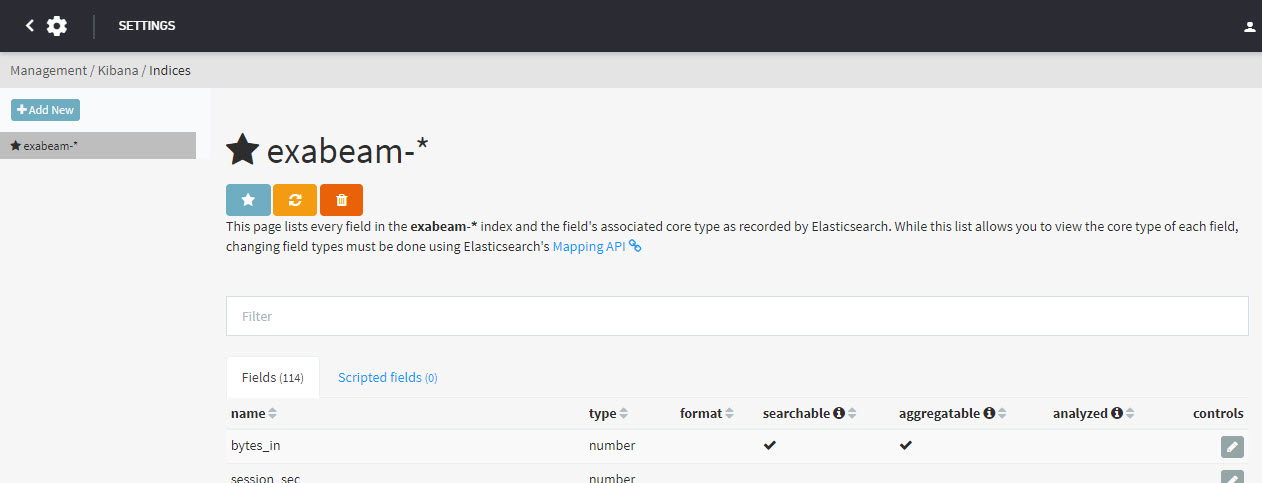
Index Patterns
Exabeam provides out-of-the-box search indices, labeled with the prefix exabeam-*. You can view their details in the Index Patterns menu. All ingested logs go into exabeam-* indices, as well as correlation rule alerts by default.
Note
Though you can adjust parameters, we strongly recommend that you do not edit Exabeam supplied indices.
 |
New filtered data (for example, after importing updated parsers) and contexts introduced to an existing data set will not display in graphs and search results until the next refresh cycle of a maximum 5 minutes. If you wish to see results immediately post, use Refresh to initiate a refresh of all graphs and search results.
 |
Manage Security Content in Exabeam Data Lake
Parsers come in the form of security content which filters the ingested logs. Parser can change over time or replaced with improved filters. Exabeam offers a curated library of parsers that are constantly updated to address the latest threats. If your organization has a specialized series of parsers, you can upload them to Data Lake also. The Content Updates menu will be the centralized repository for all security parsers, including pre-exising custom parsers, which will be migrated automatically during the upgrade process.
The Content Updates menu facilitates if:
You want to keep your current system while being able to add content
You have a content package with updates to categories/categorization
You want to install a new content package that has improvements to this parser
Manage all your content packages directly in Data Lake under Settings > Admin Operations > Content Updates. Instead of using Content Installer, which requires you to use the command line and manually restart internal engines, you retrieve the latest available content packages from the cloud in real time, including both general Exabeam releases and custom fixes you request.
In these settings, a content package that includes custom fixes you requested is called a custom package. A content package from a general Exabeam release is called a default package. It's important that you update your content with each release because the release may contain new parsers and categories, support new log sources and vendors, and other additions and fixes that keep your system running smoothly.
If you have an environment that can access the internet, you can pull the latest content packages manually or automatically, select a specific content packages to install, or even schedule content packages to automatically install on a daily or weekly basis, all from the cloud. This includes all existing parser packages.
If you have an environment that can't access the internet, you can't connect to the cloud. You must view and download the latest content packages from the Exabeam Community, then upload them.
Schedule Automated Security Content Package Installation
If you subscribe to Exabeam security content, you can configure automatic download and installation of the latest content package.
Select one of the following options:
If you are creating a new schedule, select Install Schedule.
If you want to automate the update of an existing package, click Last Update Checked, toggle Auto Updates on.
Enter an installation interval that works best with your organization. Data Lake ingestion will apply new packages immediately after installation without need for manual service restarts. No logs will be dropped during this process.
Click SAVE to apply the schedule.
Manually Upload and Install a Security Content Package
You may choose to upload a security content package manually. Use the appropriate menu for the type of package that you are installing:
Use the Default Packages tab if you are installing a security package downloaded from the Exabeam Community.
Use the Custom Packages tab if you have a custom security content package.
Note
For information on creating custom parsers, refer to the following: https://community.exabeam.com/s/article/Auto-Parser-Generator-FAQ.
Click
 .
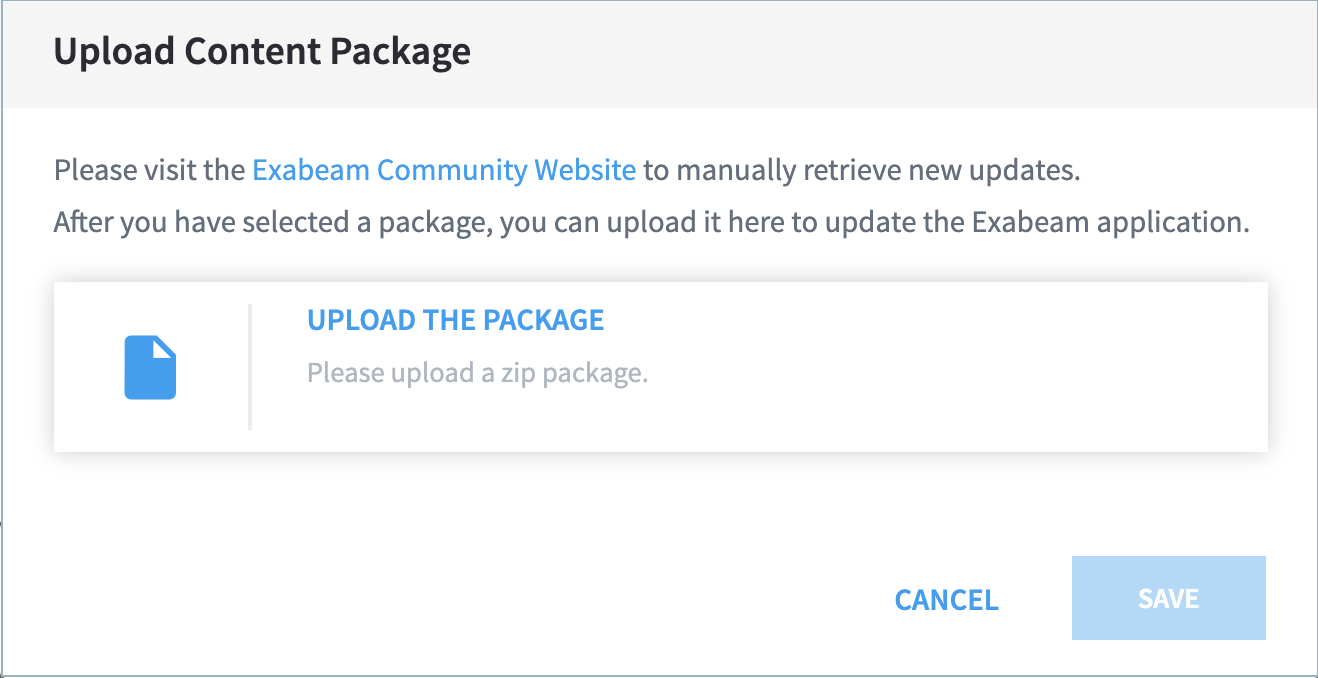
.Click UPLOAD THE PACKAGE to open the menu to select the package file to upload. Click SAVE to upload to Data Lake.
Find the uploaded package in the security content listing and then click INSTALL to apply the package. If the package is a default content package and a newer version of one you previously installed, the newer version will replace the old one. However, if needed, you can roll back to the previous version by uninstalling a given package. All other parsers will switch to older version, if they were in the restored package.. If the package is a custom content package, ensure that you uninstall the older version.
Uninstall a Custom Security Content Package
Navigate to Settings > Admin Operations > Content Updates > Custom Packages tab.
Find the security content package in the listing that you want to remove and click UNINSTALL. After uninstalling, the parsers in the uninstalled package will either disappear from the system and will not be applied during parsing or rollback to their previous or default version.
Saved Objects in Exabeam Data Lake
Customized objects are objects you can build using examples and templates provided by Exabeam. "Saved objects" are customized objects stored in the objects library during the build process that can be passed between clusters. Customized objects do not automatically synchronize between clusters. Distributing objects between clusters is a manual process.
To see objects available for export as well as access the import tool, navigate to Settings > Index Management > Saved Objects.
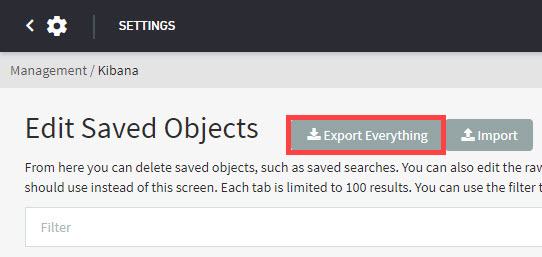
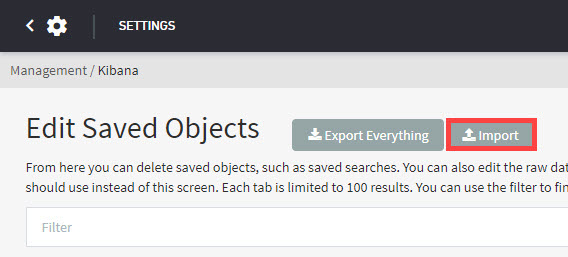
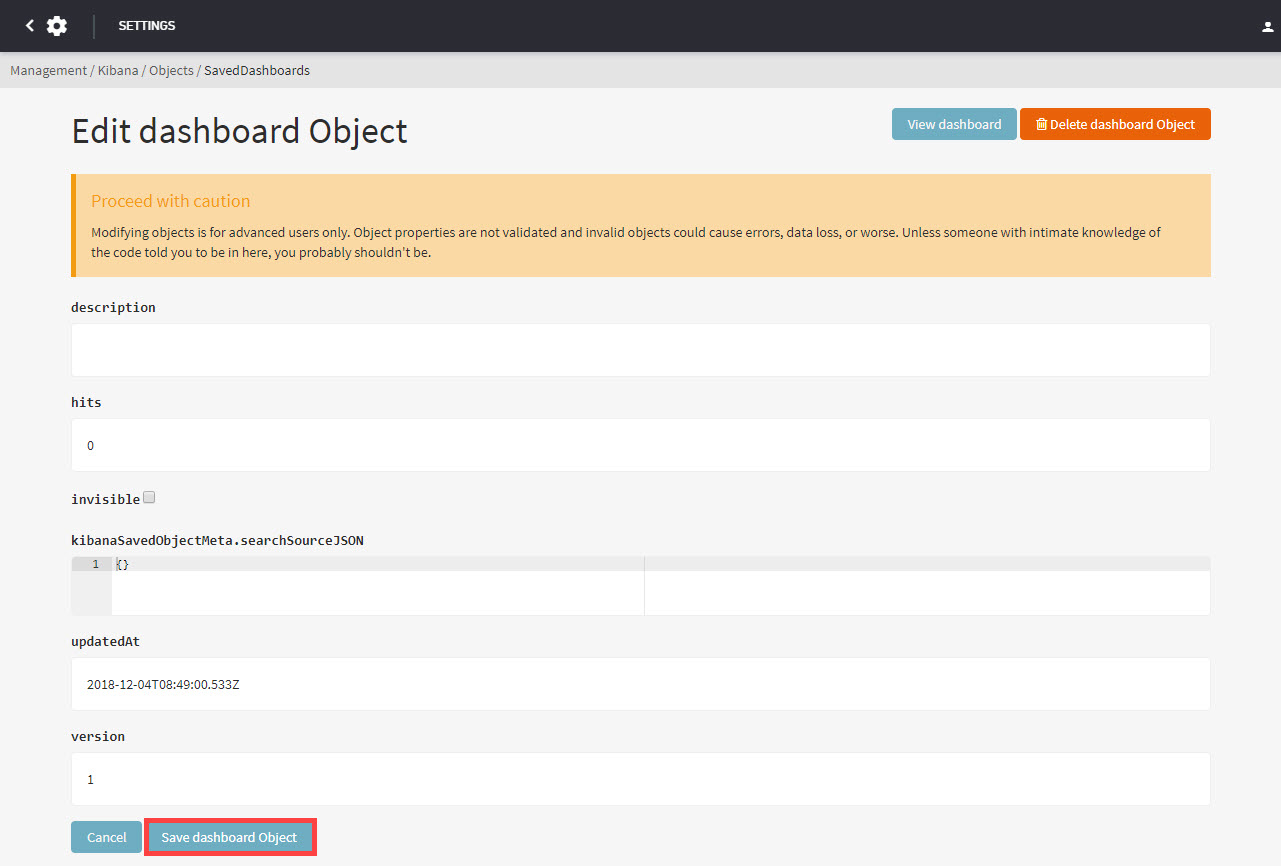
The Edit Saved Objects menu provides helpful actions, including:
Export Everything – Generates and downloads a JSON file to your computer.
Import – Deliver saved objects (JSON files) to your cluster.
Edit – Reconfigure object properties.

Click Save dashboard Object to make the new object available for export. Additionally, you can Delete dashboard Object or View Dashboard.
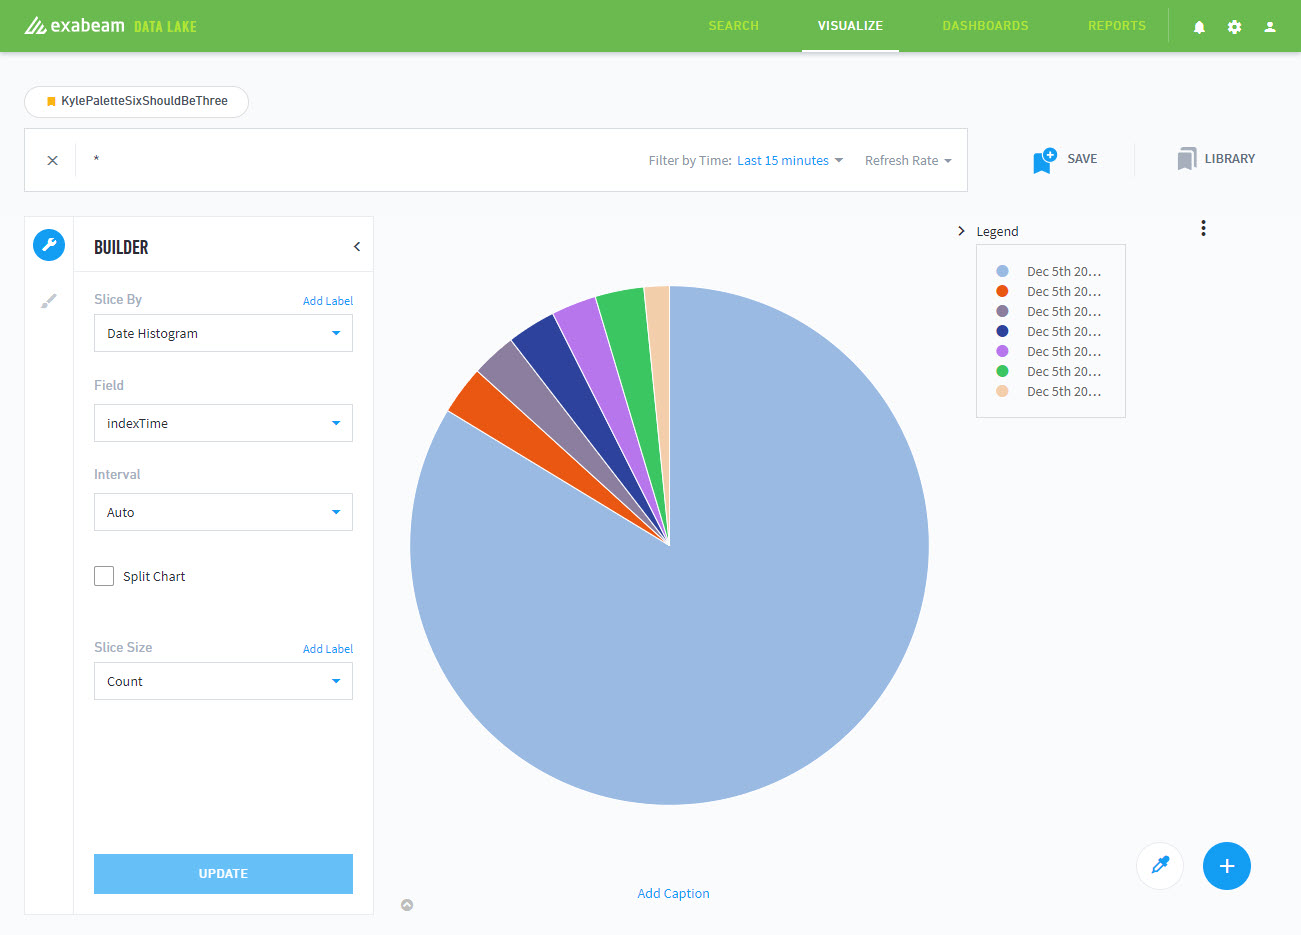
View – See the output from a given object.
In this example, the object is a visualization. Selecting its view displays in the Chart Builder.
Configure Search Results
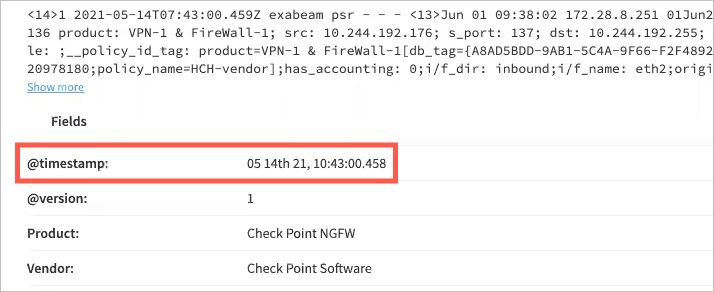
From the Advanced Settings page, you can configure the display format and timezone used in the @timestamp field of search results, along with the number of search results displayed per page.
Note
When a search results setting has been changed from its default value, a red Delete icon appears next to its Edit icon in the Actions column. To quickly return the setting to its default value, click the Delete icon.
Navigate to Settings > Index Management > Advanced Settings.
Do any of the following:
To modify the log date and time formats in the @timestamp field, click the Edit icon for dateFormat, change the date and time values as needed, and then click the Save icon.
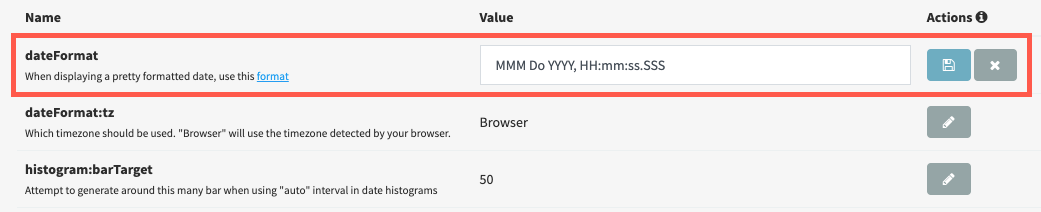
Tip
For information on the different date and time formats, go to https://momentjs.com/docs/#/displaying/format/.
After saving your changes, execute a search to verify the updated format in the @timestamp field.
To change the timezone used in the @timestamp field, click the Edit icon for dateFormat:tz, select a timezone option from the drop-down list, and then click the Save icon.
To change the number of logs that appear per page in search results, click the Edit icon for searchResultsPerPage, adjust the number value as needed, and then click the Save icon.
(Optional) To return a search results setting to its default value, click the red Delete icon.

Configure Histogram Visualizations
From the Advanced Settings page, you can configure the following histogram settings:
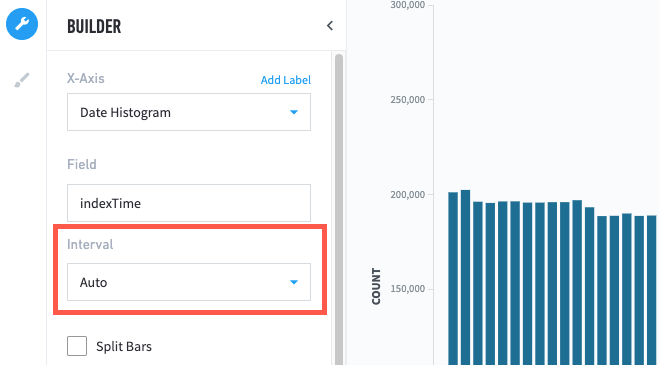
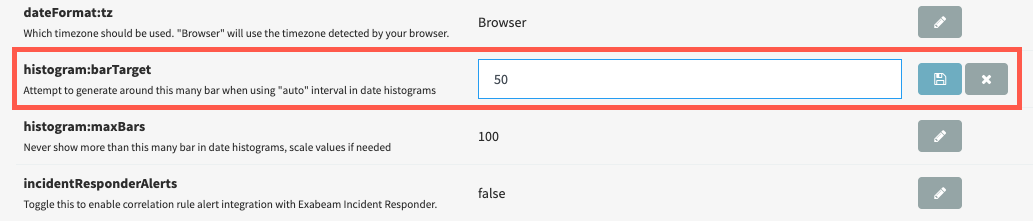
histogram:barTarget: The number of bars that are generated when auto interval is selected on a date histogram chart.
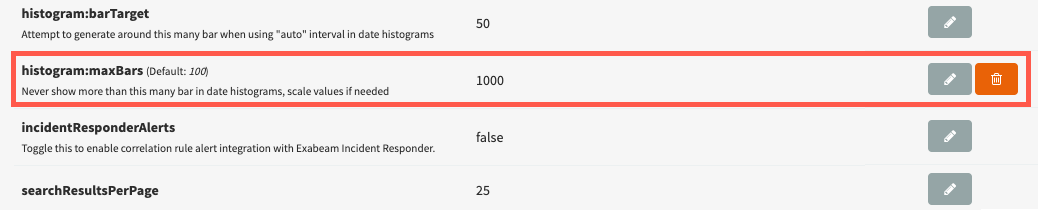
histogram:maxBars: The maximum number of bars displayed on histogram charts.
Note
The default setting for histogram:maxBars is 100. If you want to visualize relatively short intervals over a wide time range, you need to significantly increase the maximum number of bars; otherwise, the intervals automatically scale to compensate for the inadequate number of bars. For example, if you select hourly intervals over a 30 day period with histogram:maxBars set at the default of 100, the intervals automatically scale to 3 hours.
Note
When a histogram setting has been changed from its default value, a red Delete icon appears next to its Edit icon in the Actions column. To quickly return the setting to its default value, click the Delete icon.
To configure histogram visualizations:
Navigate to Settings > Index Management > Advanced Settings.
Do any of the following:
To change the number of bars generated when Auto is selected for a histogram's Interval setting, click the Edit icon for histogram:barTarget, provide a number value, and then click the Save icon.
Important
To avoid visualization performance issues, the histogram:barTarget value should not exceed 1000.
To change the maximum number of bars displayed in histogram charts, click the Edit icon for histogram:maxBars, provide a number value, and then click the Save icon.
Important
To avoid visualization performance issues, the histogram:maxBars value should not exceed 10000.
(Optional) To return a histogram setting to its default value, click the red Delete icon.
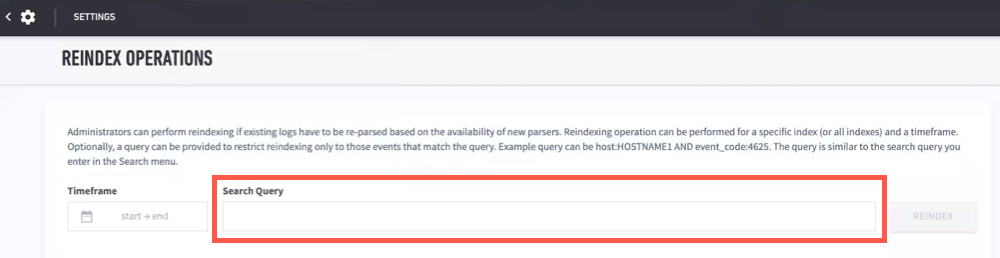
Reindex Operations
When new or revised parsers are introduced into Data Lake, you can apply them to existing data by reindexing the log repository. To avoid interfering with ongoing ingestion, reindexing operations use only available resources. Reindexing jobs must be manually initiated by administrators, and only one reindex job can be run at a time. The Reindex Operations page includes a list of current and scheduled reindexing jobs, along with a history of past jobs.
Note
Indexing operations generally take less time to complete when more operational resources are available, as during non-business hours. Also, it's often more efficient to run a series of smaller reindex jobs than it is to run a job targeting all the event logs in the repository.
Navigate to Settings > Index Management > Reindex.
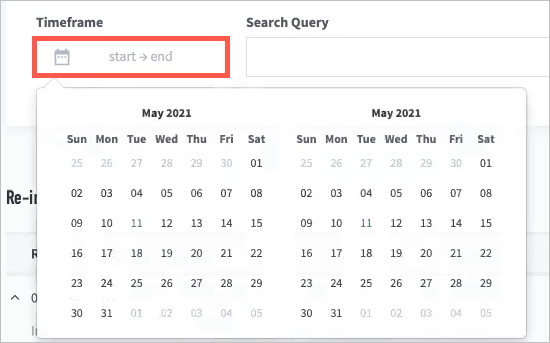
Select the start and end dates in the Timeframe for the data time block that you want to reindex.
To limit reindexing to certain event logs, provide a Search Query to target them. If you want to reindex all logs in the repository, enter an asterisk (*) in the field.
To initiate reindexing, click Reindex .
The new job appears on re-index jobs list.
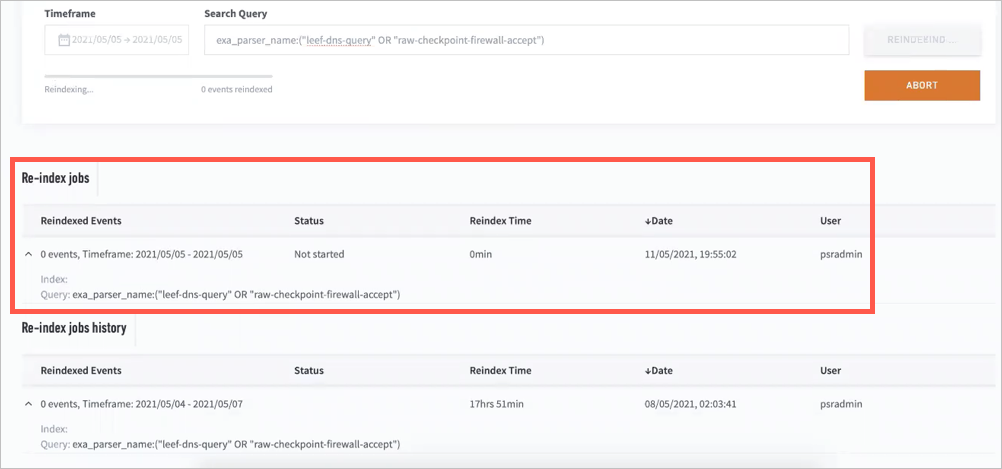
Note
If you need to cancel the reindex job, click Abort.