Pre-Block Vendors and Products
Pre-Blocking simplifies the workflow of filtering in or out all events from specified vendors and/or products in Advanced Analytics. It is useful for any scenario in which you need to quickly block and unblock vendor and/or product events so you can focus on only the events that you want to see.
To pre-block vendors and/or products:
Log in to the Exabeam Security Operations Platform.
On the lower-left side of the page, click the settings icon
 , and then click Event Selection.
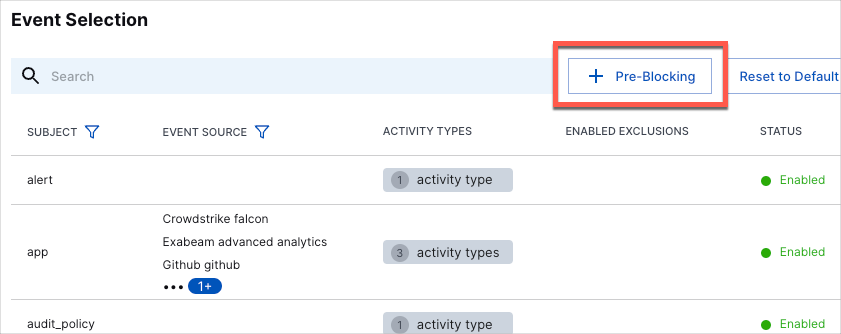
The Event Selection page opens.
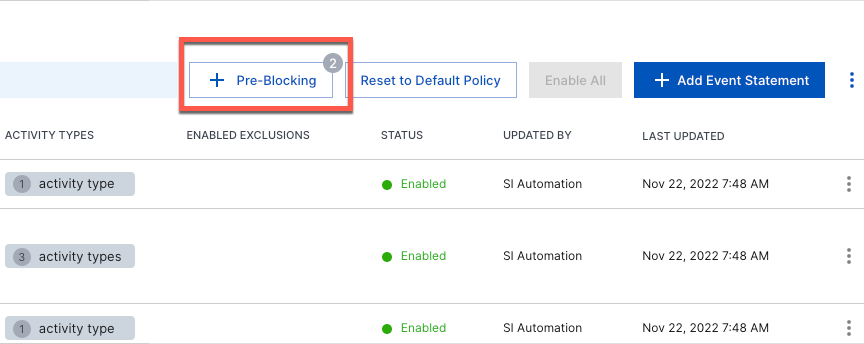
Click the Pre-Blocking button.
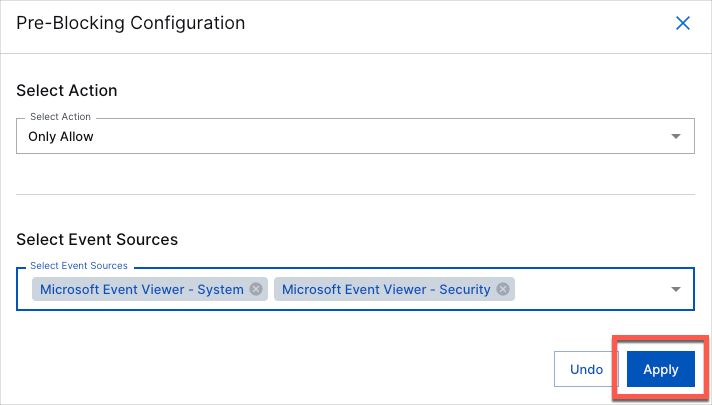
The Pre-Blocking Configuration dialog box opens.
From the Select Action drop-down menu, select Only Deny or Only Allow.
From the Select Event Sources drop-down menu, select the vendors and/or products that you want to allow or block based on your selection in step 4.
Note
The list of vendors and products in the drop-down menu includes only the Exabeam default and custom vendors and products that have been active within the 30 days. Vendors and/or products that have not been active within this time frame will not appear.
Note
If at any time you want to undo your selections and start over, click Undo.
Click Apply.
The dialog box closes and you are returned to the Event Selection home page. The total number of products that were selected for the pre-block (from either vendor or individual product selections) is displayed on the Pre-Blocking button. If you selected the Only Allow action, the number is shown in a gray circle; if you selected Only Deny, the number is in a black circle.