- Introduction to Context Management
- Onboarding a Context Table
- Custom Context Tables
- Create a Custom Context Table by Importing a CSV File
- Create a Custom Context Table Using the Add Custom Option
- Working with Filtered Context Tables
- View and Interact with a Custom or Filtered Context Table
- View the Details Panel for a Custom or Filtered Context Table
- Edit the Configuration of Custom or Filtered Context Tables
- Active Directory Context Tables
- Prerequisites to Onboard an Active Directory Context Table
- Create an Active Directory Context Table
- View and Interact with an Active Directory Context Table
- View the Details Panel for an Active Directory Context Table
- Edit the Configuration of an Active Directory Context Table
- Default User Attribute Mapping for Active Directory
- Default Device Attribute Mapping for Active Directory
- Anomali Context Tables
- Prerequisites to Onboard an Anomali Context Table
- Create an Anomali Context Table
- View and Interact with an Anomali Context Table
- View the Details Panel for an Anomali Context Table
- Edit the Configuration of an Anomali Context Table
- Default IP Attribute Mapping for Anomali
- Default Domain Attribute Mapping for Anomali
- CrowdStrike Context Tables
- Microsoft Entra ID Context Tables
- Prerequisites to Onboard a Microsoft Entra ID Context Table
- Create a Microsoft Entra ID Context Table
- View and Interact with a Microsoft Entra ID Context Table
- View the Details Panel for a Microsoft Entra ID Context Table
- Edit the Configuration of a Microsoft Entra ID Context Table
- Default User Attribute Mapping for Microsoft Entra ID
- Default Device Attribute Mapping for Microsoft Entra ID
- Okta Context Tables
- Recorded Future Context Tables
- Prerequisites to Onboard a Recorded Future Context Table
- Create a Recorded Future Context Table
- View and Interact with a Recorded Future Context Table
- View the Details Panel for a Recorded Future Context Table
- Edit the Configuration of a Recorded Future Context Table
- Default IP Attribute Mapping for Recorded Future
- Default Domain Attribute Mapping for Recorded Future
- STIX/TAXII Context Tables
- Prerequisites to Onboard a STIX/TAXII Context Table
- Create a STIX/TAXII Context Table
- View and Interact with a STIX/TAXII Context Table
- View the Details Panel for a STIX/TAXII Context Table
- Edit the Configuration of a STIX/TAXII Context Table
- Default IP Attribute Mapping for STIX/TAXII
- Default Domain Attribute Mapping for STIX/TAXII
- Custom Context Tables
- Add Data to an Existing Context Table
- Using Context Data in Downstream Applications
- Pre-Built Context Tables
- Context Management APIs
- Troubleshooting Context Management
- Refresh Rates for Context Tables
Create a Recorded Future Context Table
The most efficient way to onboard a Recorded Future context table is actually to start in the Cloud Collectors application. Because only one Recorded Future context table can be connected to a Recorded Future cloud collector, you can automatically create both in a single procedure as follows:
Log into the New-Scale Security Operations Platform with your registered credentials.
Find the Collectors tab and click the Cloud Collectors tile.
Navigate to the Collectors tab at the top of the page and click the Recorded Future - Context tile. The Recorded Future (Context) panel opens.
Enter all of the required information to identify the Recorded Future source you want to collect data from. For more information, see the Recorded Future - Context Cloud Collector section of the Cloud Collector Administrative Guide.
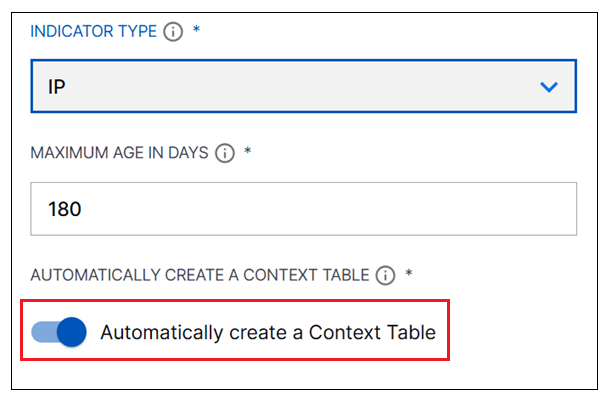
At the bottom of the panel, toggle on the option to Automatically create a Context Table.

Click Install to create the collector and the context table. When the context table is created, the available Recorded Future source attributes are automatically mapped to a set of Exabeam Common Information Model target attributes.
For an easy-to-read table of default attribute mapping, see one of the following:
Navigate to the Context Management application and find the newly created context table on the Overview tab.
Click on the table row to open the table and view the data. Validate the data being collected.
