- Automation Management
- Automation Management Permissions
- Automation Management Playbooks
- Automation Management Playbook Triggers
- Pre-Built Automation Management Playbooks
- Automation Management Advanced Playbooks
- Automation Management Rule-Based Playbooks
- Filter Automation Management Playbooks
- Find Automation Management Playbooks
- Enable or Disable an Automation Management Playbook
- Reorder an Automation Management Playbook
- Delete an Automation Management Playbook
- Automation Management Services
- Pre-Built Automation Management Services
- Create an Automation Management Service
- Edit an Automation Management Service
- Configure an Automation Management Service Instance
- Edit an Automation Management Service Instance
- Delete an Automation Management Service
- Refresh Automation Management Instance List
- Find Automation Management Services
- Automation Management Actions
- Create an Automation Management Action
- Clone an Automation Management Action
- Edit an Automation Management Action
- Deploy an Automation Management Action
- Preview Automation Management Action Code
- View Automation Management Action Run History
- View Automation Management Action Version History
- View Automation Management Action Audit Log
- Delete an Automation Management Action
- Refresh Automation Management Action List
- Automation Agents
Create an Automation Management Service
To integrate your own custom service with Automation Management, you must first create a service.
1. Enter Information About the Service
In the Services tab, click +Create Service.
Under Service name, enter a unique name between one and 100 characters. You can use numbers, letters, and underscores only. You can't rename the service after it's created.
(Optional) Under Service description, enter a description of the service.
Under How would you like to create your service?, select how you're creating the service:
To import an existing API, select Import from File or URL, then upload a API specification file from your file system or enter a link to the API specification file. The file must be a JSON or YAML file and adhere to version 3.0 or above of the OpenAPI specification.
To upload a API definition file from your file system, browse your file system or drag and drop the file from your file system. To browse your file system, click SELECT A FILE, then select the file from your file system. To drag and drop a specific file, drag the file onto the outlined box from your file system, then drop the file. When you upload the file, Automation Management automatically validates the the file to ensure it meets the requirements. If the file doesn't meet the requirements, you receive an error. To remove a file you uploaded, click the trash
 .
.To enter a link to the API specification file, under URL, enter the link. To ensure the file meets the requirements, click Confirm and Validate. If the file doesn't meet the requirements, you receive an error.
To develop actions from scratch in Automation Management, select Create Manually.
Click Import and Next. Your service is created and appears in the list of services. If you imported an existing API, the service actions are automatically created in Draft Only status.
2. (Optional) Define Parameters
Instead of hard coding values into your API specification file, you can declare common or reusable parameters and reference them across API operations, like creating an instance or action. The values for these parameters are often ones that change or vary across environments and therefore require your input for the service to run. Some parameters you may consider declaring here are ones you use for authentication, like API keys, tokens, usernames or passwords; or other API path or query parameters.
If a parameter value is hard coded into your API specification file, the hard-coded parameter value is what's used instead of the parameter you define here.
Under Schema, in Field name, enter the parameter name, then click + Add field.
Next to the parameter you added, define its properties in JSON. There are two ways to define the parameter properties: using the predefined settings or a JSON editor.
To define properties using the settings, ensure the JSON Editor is toggled off, then configure the settings.
To define properties using the source JSON, toggle the JSON Editor on, then define the parameter properties using the editor.
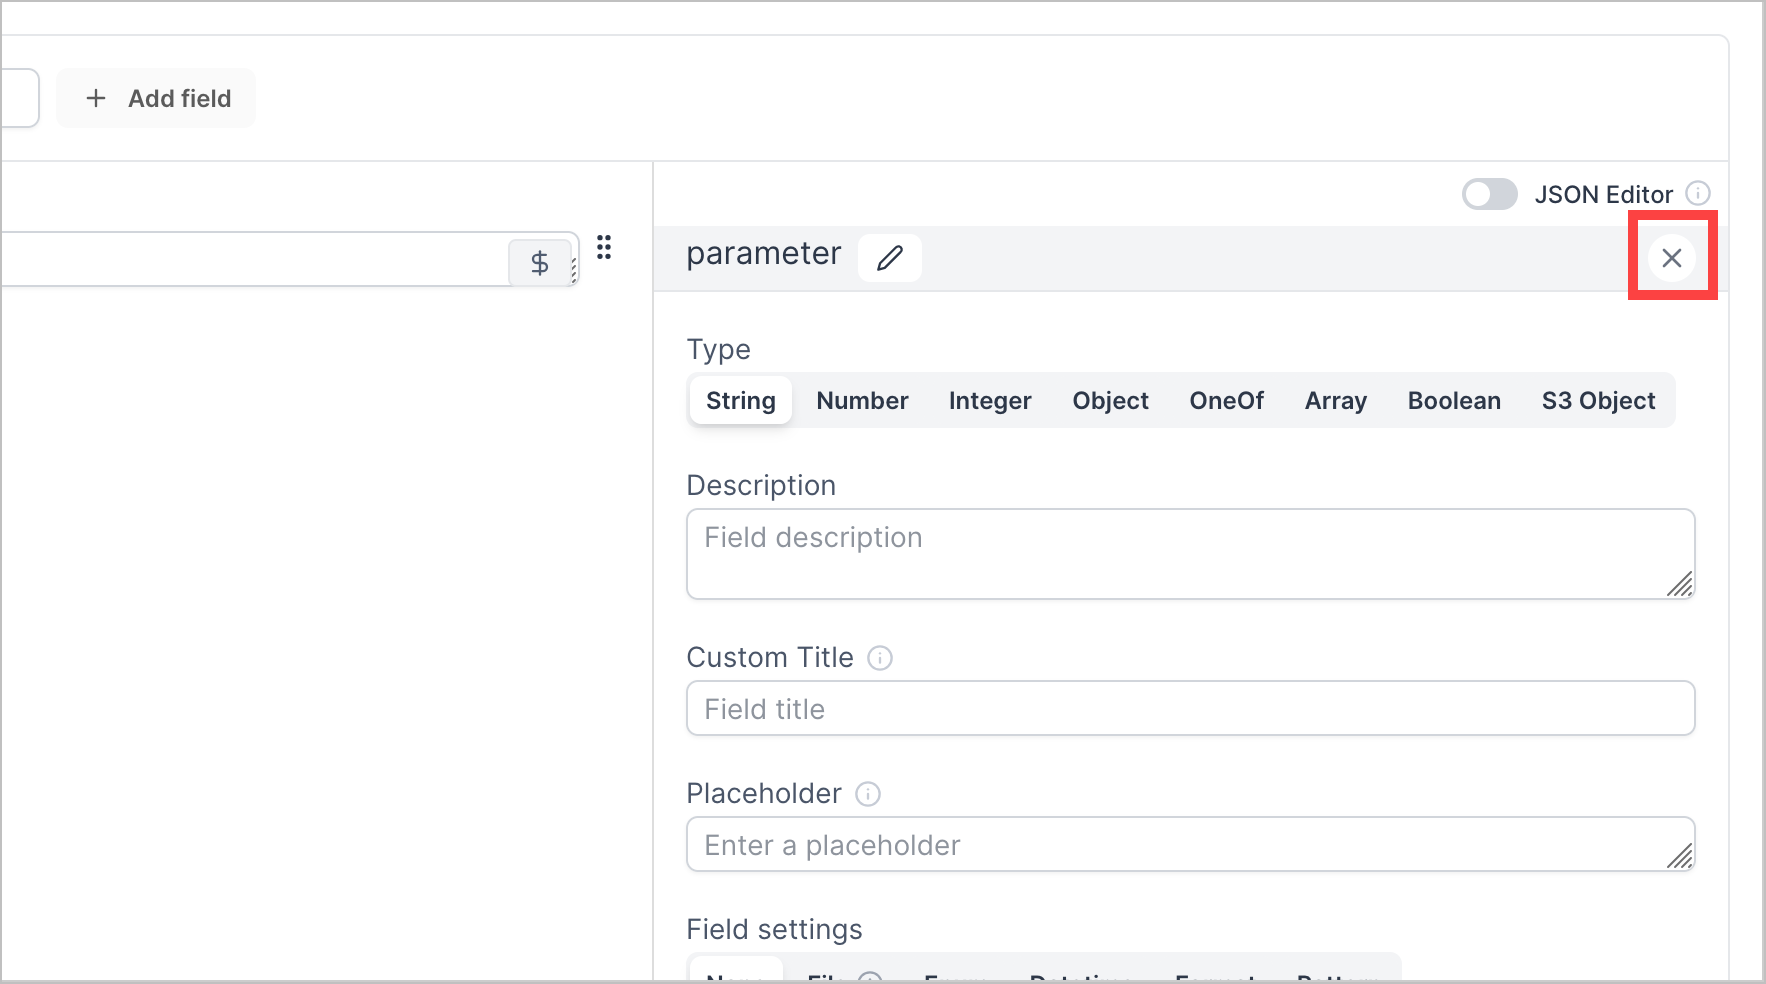
To remove a parameter, click
 .
.
As you define the parameter, the parameter updates how it's displayed so you can preview how the parameter looks in other API operations.
3. Save the Service
Click Save. Your service appears in the list of services. You can now create instances and actions for the service.