- Welcome to the New-Scale Security Operations Platform
- Licenses
- Get Started with the New-Scale Security Operations Platform
- Universal Role-Based Access
- Exabeam Nova
- Monitoring
- Export Your Exabeam Data
Add a Third-Party Identity Provider
Note
To complete this procedure, you need administrative access to both Exabeam and your identity provider (IdP).
Log in to your IdP and perform the initial configuration steps for adding Exabeam:
Begin the procedure to add a new application in your IdP for Exabeam (if needed, refer to your IdP's user guide for instructions).
In the attribute mapping section, enter descriptive values for the IdP user attributes.
You need to provide values for the following user attributes:
Email address
First name
Last name
Group
Username (this attribute is optional)
For example, if Primary email is the user email attribute in your IdP, you could enter
EmailAddressas the descriptive value. The following is an example of an attribute map in Google IdP: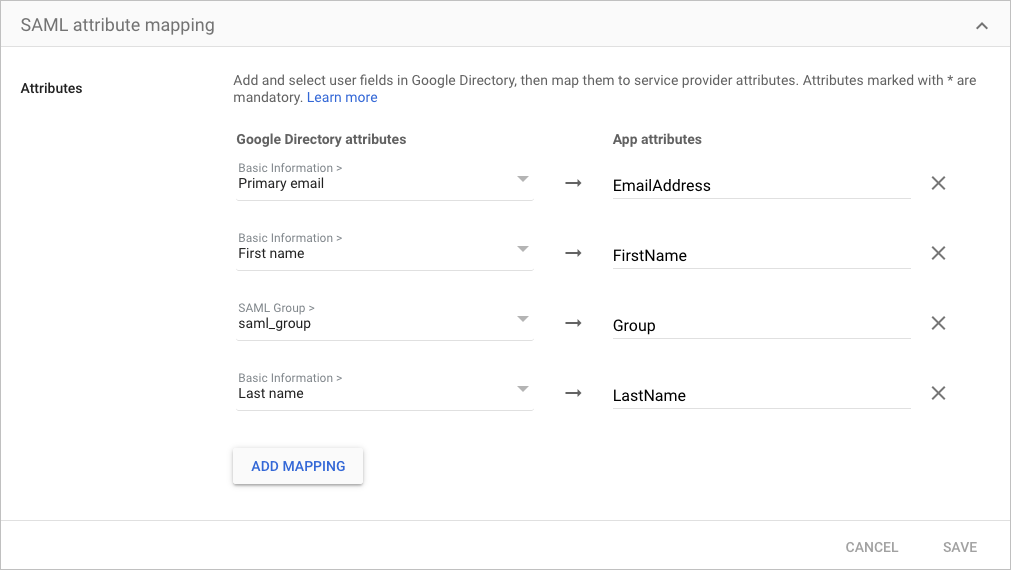
Important
You will use the same descriptive values to map the Exabeam query attributes with corresponding IdP user attributes.
Do one of the following:
Download the IdP metadata file. (Preferred)
Copy the Entity ID and Login URL (sometimes referred to as the "SSO URL"), and then download the SAML certificate (the exact names of these items may vary between IdPs).
Note
The information obtained in this step needs to be entered into Exabeam.
Log in to the New-Scale Security Operations Platform and do the following:
On the lower-left side of the page, click Settings
 , and then click Single sign-on.
The Single Sign-On (SSO) page opens.
On the upper-right side of the page, click Add new provider.
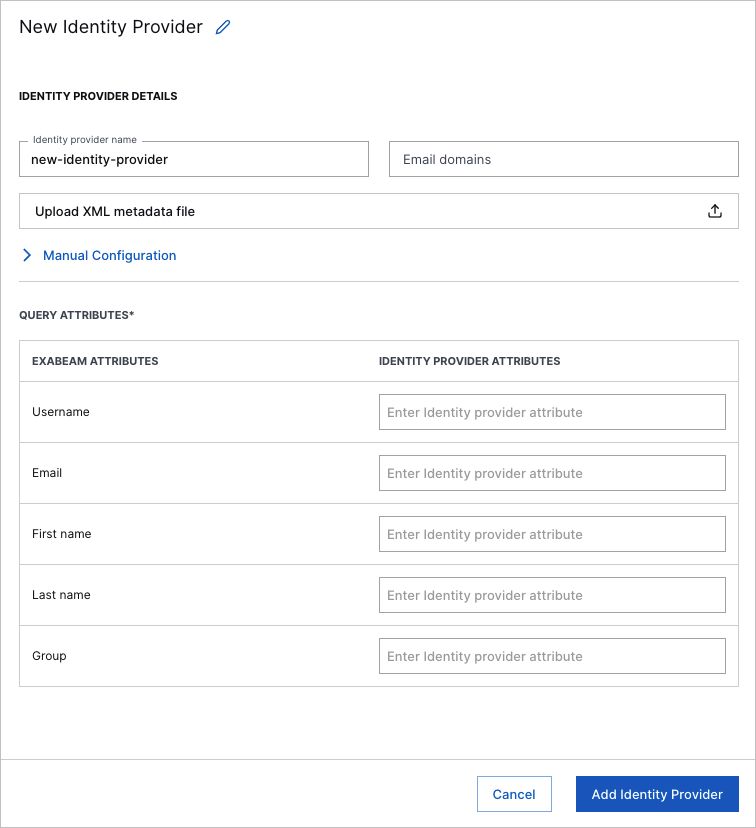
In the Identity provider name box, enter a name for the IdP.
In the Email domains box, enter any user email domains in the IdP (example: exabeam.com).
Important
The email domains must be unique. They cannot be the same as the domains used in another IdP or by local user accounts.
Do one of the following:
Click Upload XML metadata file, navigate to the IdP metadata file that you downloaded in step 1b, and click to upload it.
The uploaded metadata file populates the required configuration fields.
Click Manual Configuration, and then use the information that you obtained earlier to do the following:
Enter values for the SAML Entity ID and Login URL.
Click Upload IdP Certificate, navigate to the certificate and click to upload it.
(Optional) Enter values for the Logout URL and Logout redirect URL.
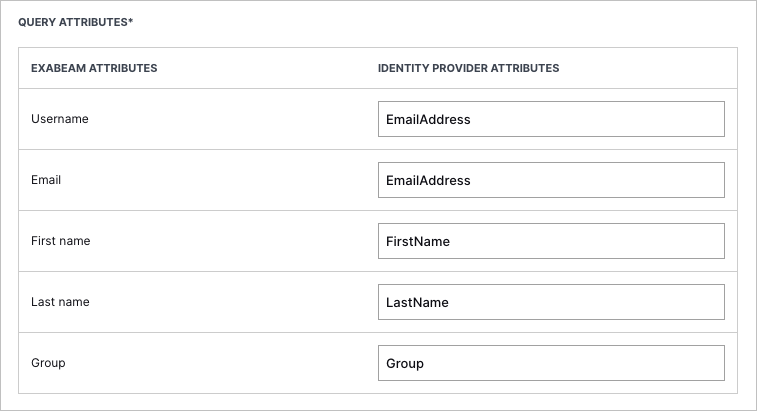
In the Query Attributes table, map the Exabeam query attributes to the corresponding IdP user attributes by entering the same descriptive values that you did in step 1b, as demonstrated in the following example:
Click Add Identity Provider.
The idpDisplayName box appears.
Do one of the following:
Download the Metadata URL file by moving your pointer over the URL and clicking the download icon on the right.
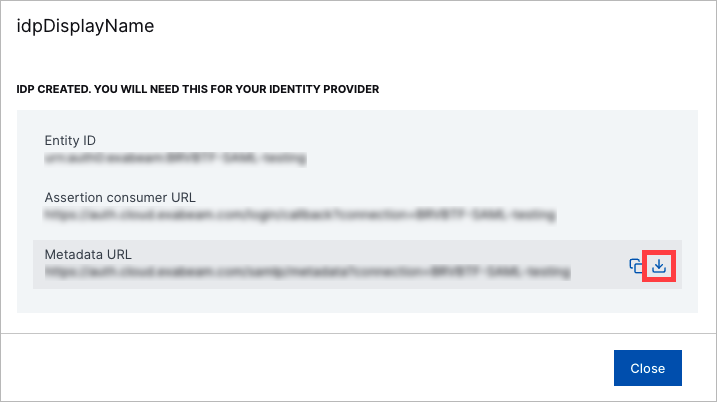
Copy the Entity ID and Assertion Consumer URL values.
Note
The information obtained in this step needs to be added into your IdP.
Log in to your IdP to complete the Exabeam application configuration:
From the information obtained in step 2i, enter the Entity ID and Assertion Consumer (ACS) URL values into their appropriate fields. You can also input these values by uploading the Metadata URL file if your IdP provides the option.
Complete any additional steps in your IdP that are necessary to finish the configuration. Refer to your IdP user guide for details.
Log in to the New-Scale Security Operations Platform, click Settings
, and then click Single sign-on.The IdP is listed on the Single Sign-On page.
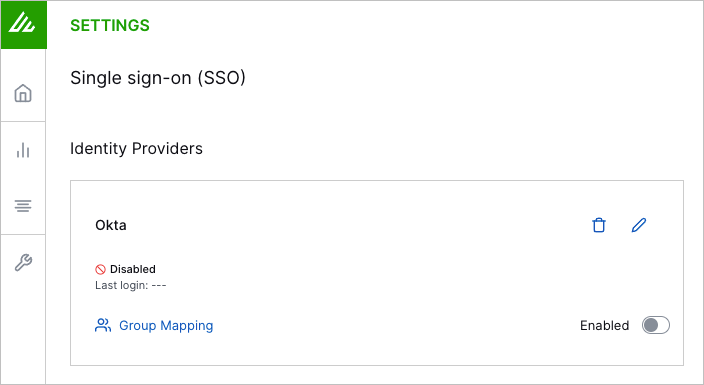
Click Group Mapping and then do the following:
Note
The purpose of group mapping is to map the user groups in your IdP to the appropriate user roles in Exabeam. For example, if your IdP includes an
Advanced Analystuser group that needs the permissions included in theTier 3 Analyst (Advanced Analytics)role, you can map the group to that role. Each group can be mapped to one or more roles as needed.Click Add new mapping.
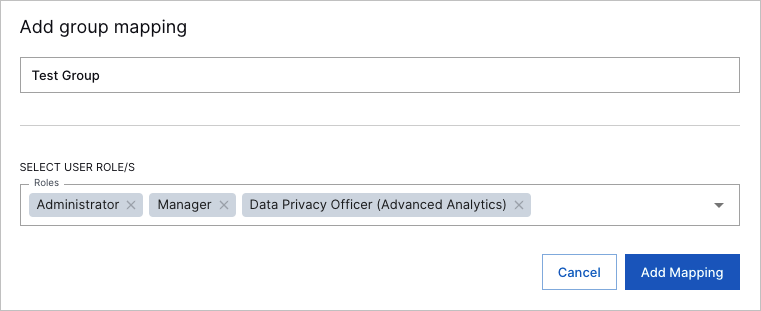
The Add Group Mapping dialog box appears.
In the Group name box, enter the name of an IdP group.
Click the Roles drop-down list, and then select the Exabeam roles that you want to assign to the group.
After you have selected all the roles that you want assigned to the group, click Add Mapping.
Repeat steps a–d as needed to map any other IdP groups.
Users from your third-party IdP and their assigned roles are displayed on the Users page.
To enable the IdP, click the Enabled toggle.
The Enabled toggle turns blue.