- Get Started with Threat Detection Management
- Analytics Rules
- Analytics Rule Classifications
- Create an Analytics Rule
- Manage Analytics Rules
- Tune Analytics Rules
- Find Analytics Rules
- Share Analytics Rules
- Troubleshoot Analytics Rules
- Analytics Rules Syntax
- Advanced Analytics Rule Syntax vs. Analytics Rule Syntax
- Logical Expressions in Analytics Rule Syntax'
- String Operations Using Analytics Rule Syntax
- Integer Operations Using Analytics Rule Syntax
- Time Operations Using Analytics Rule Syntax
- Network Operations Using Analytics Rule Syntax
- Context Operations Using Analytics Rule Syntax
- Entity Operations Using Analytics Rule Syntax
- Correlation Rule Operations Using Analytics Rule Syntax
- Analytics Engine Status
- Correlation Rules
- Threat Scoring
Enable Exclusions
Enable exclusions so they are applied to analytics rules. Disable an exclusion to deactivate it without deleting it.
You can enable an individual exclusion or multiple exclusions at once. Consider enabling multiple exclusions at once to minimize disruptions to other Exabeam applications, analytics engine downtime, and your use of entitled training days.
Enable an Exclusion
Enable an individual exclusion.
Ensure there are no pending changes or updates to your analytics rules. If there are pending changes or updates, apply those changes or updates to your environment or delete the changes or updates.
Under Exclusions, click View all Exclusions.

For an exclusion, click the More menu
 , then select Enable.
Click Enable. The analytics engine restarts and retrains analytics rules, which can take up to 10 minutes.
Enable Multiple Exclusions
To minimize disruptions to other Exabeam applications, analytics engine downtime, and your use of your entitled training days, enable multiple exclusions at once.
Ensure there are no pending changes or updates to your analytics rules. If there are pending changes or updates, apply those changes or updates to your environment or delete the changes or updates.
Under Exclusions, click View all Exclusions.

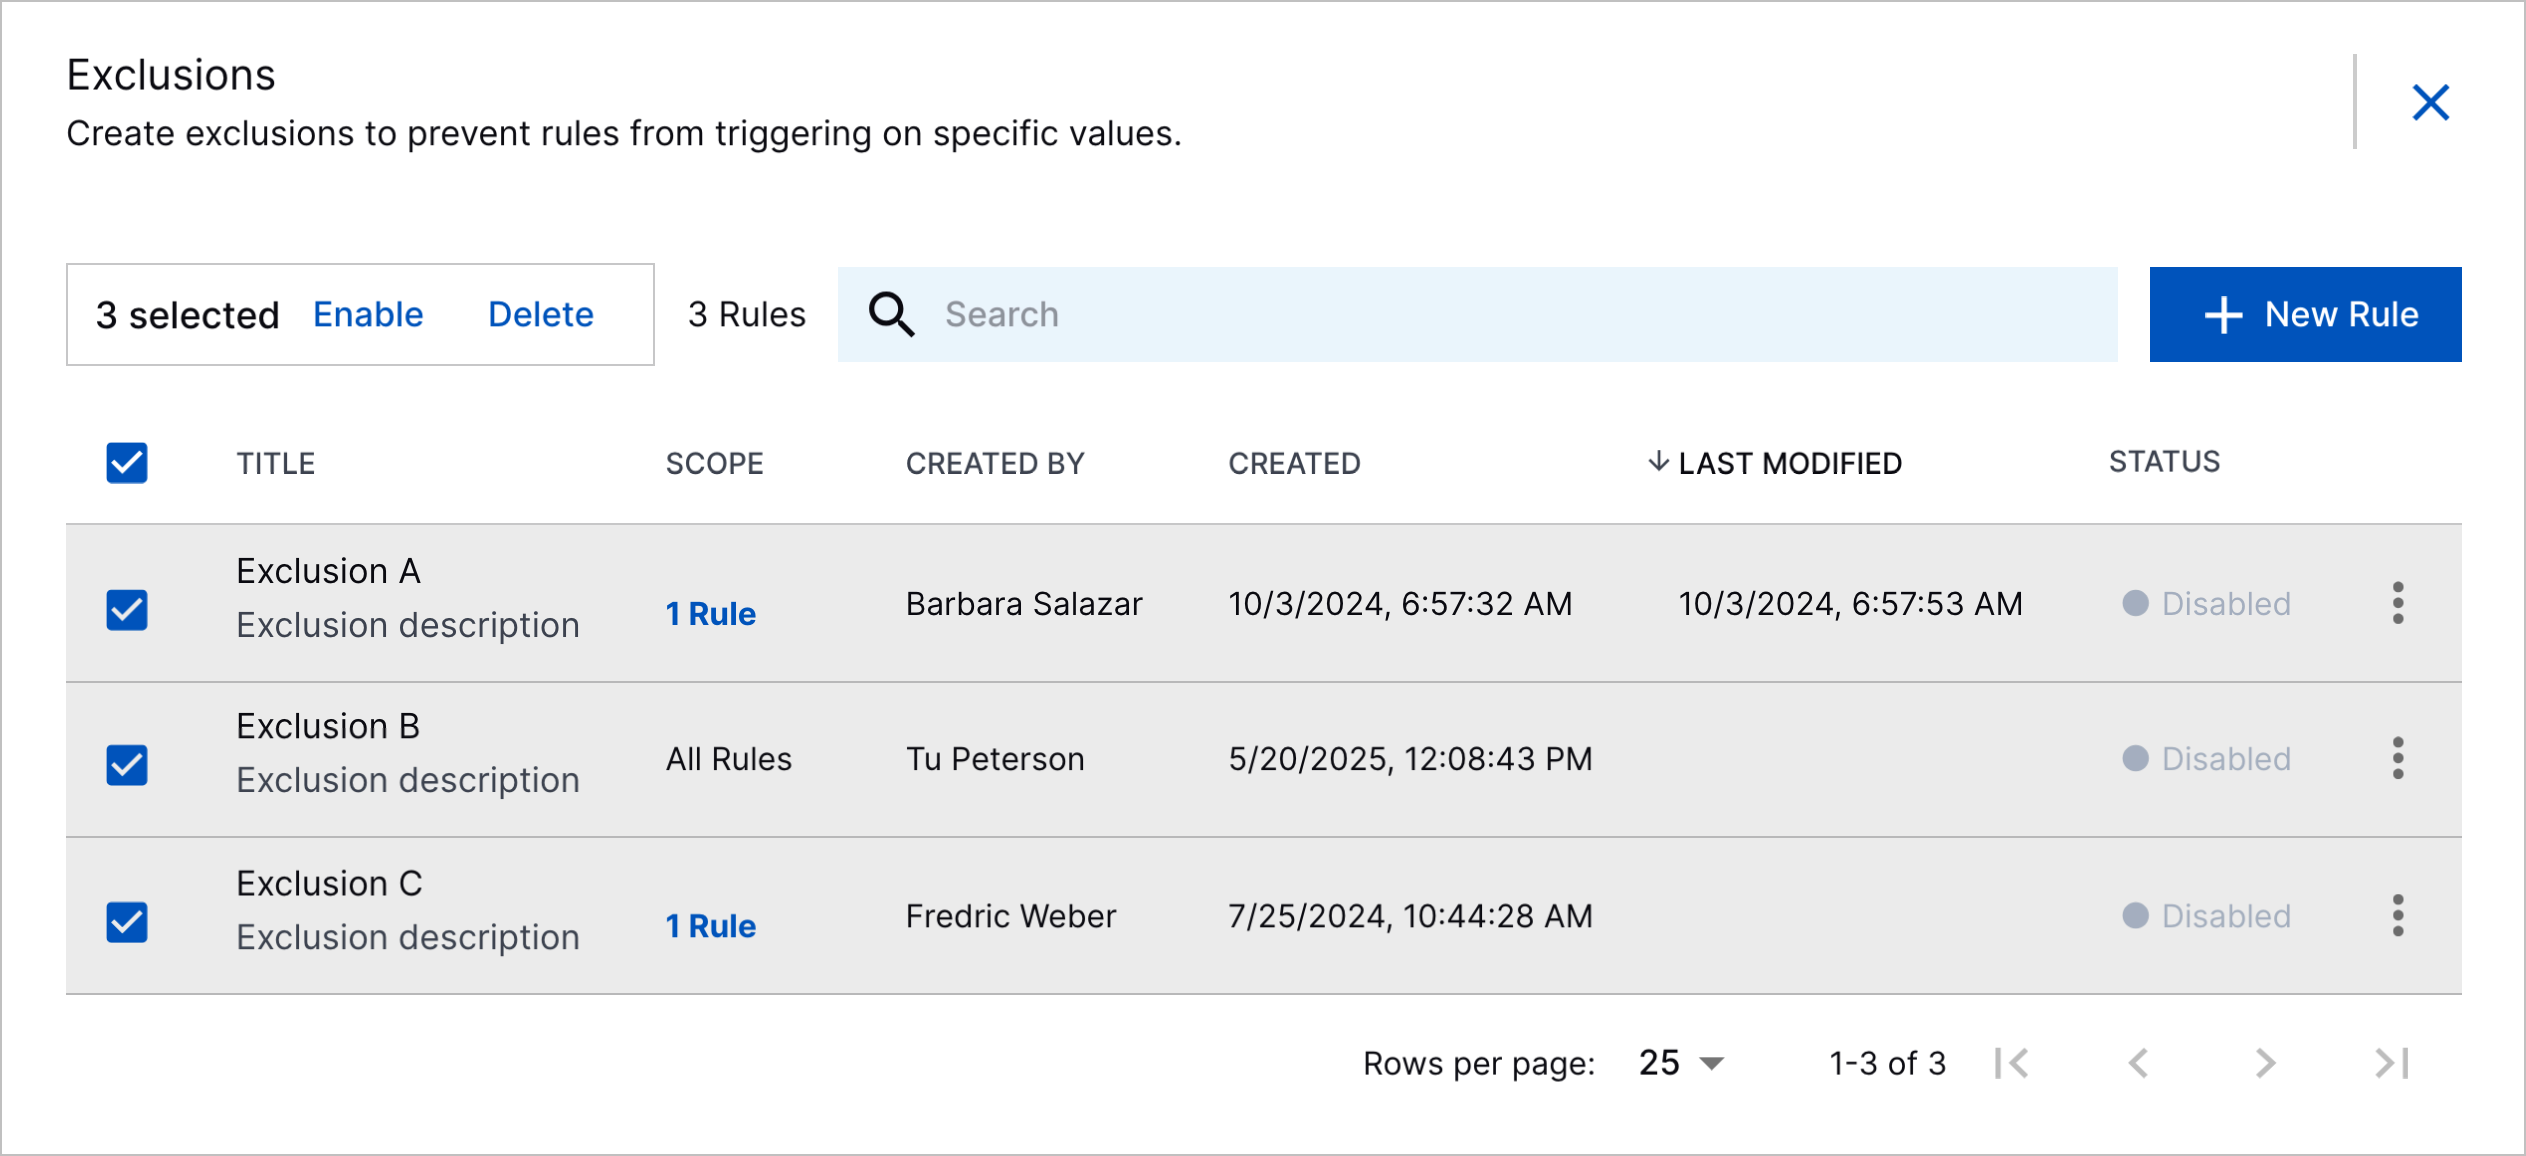
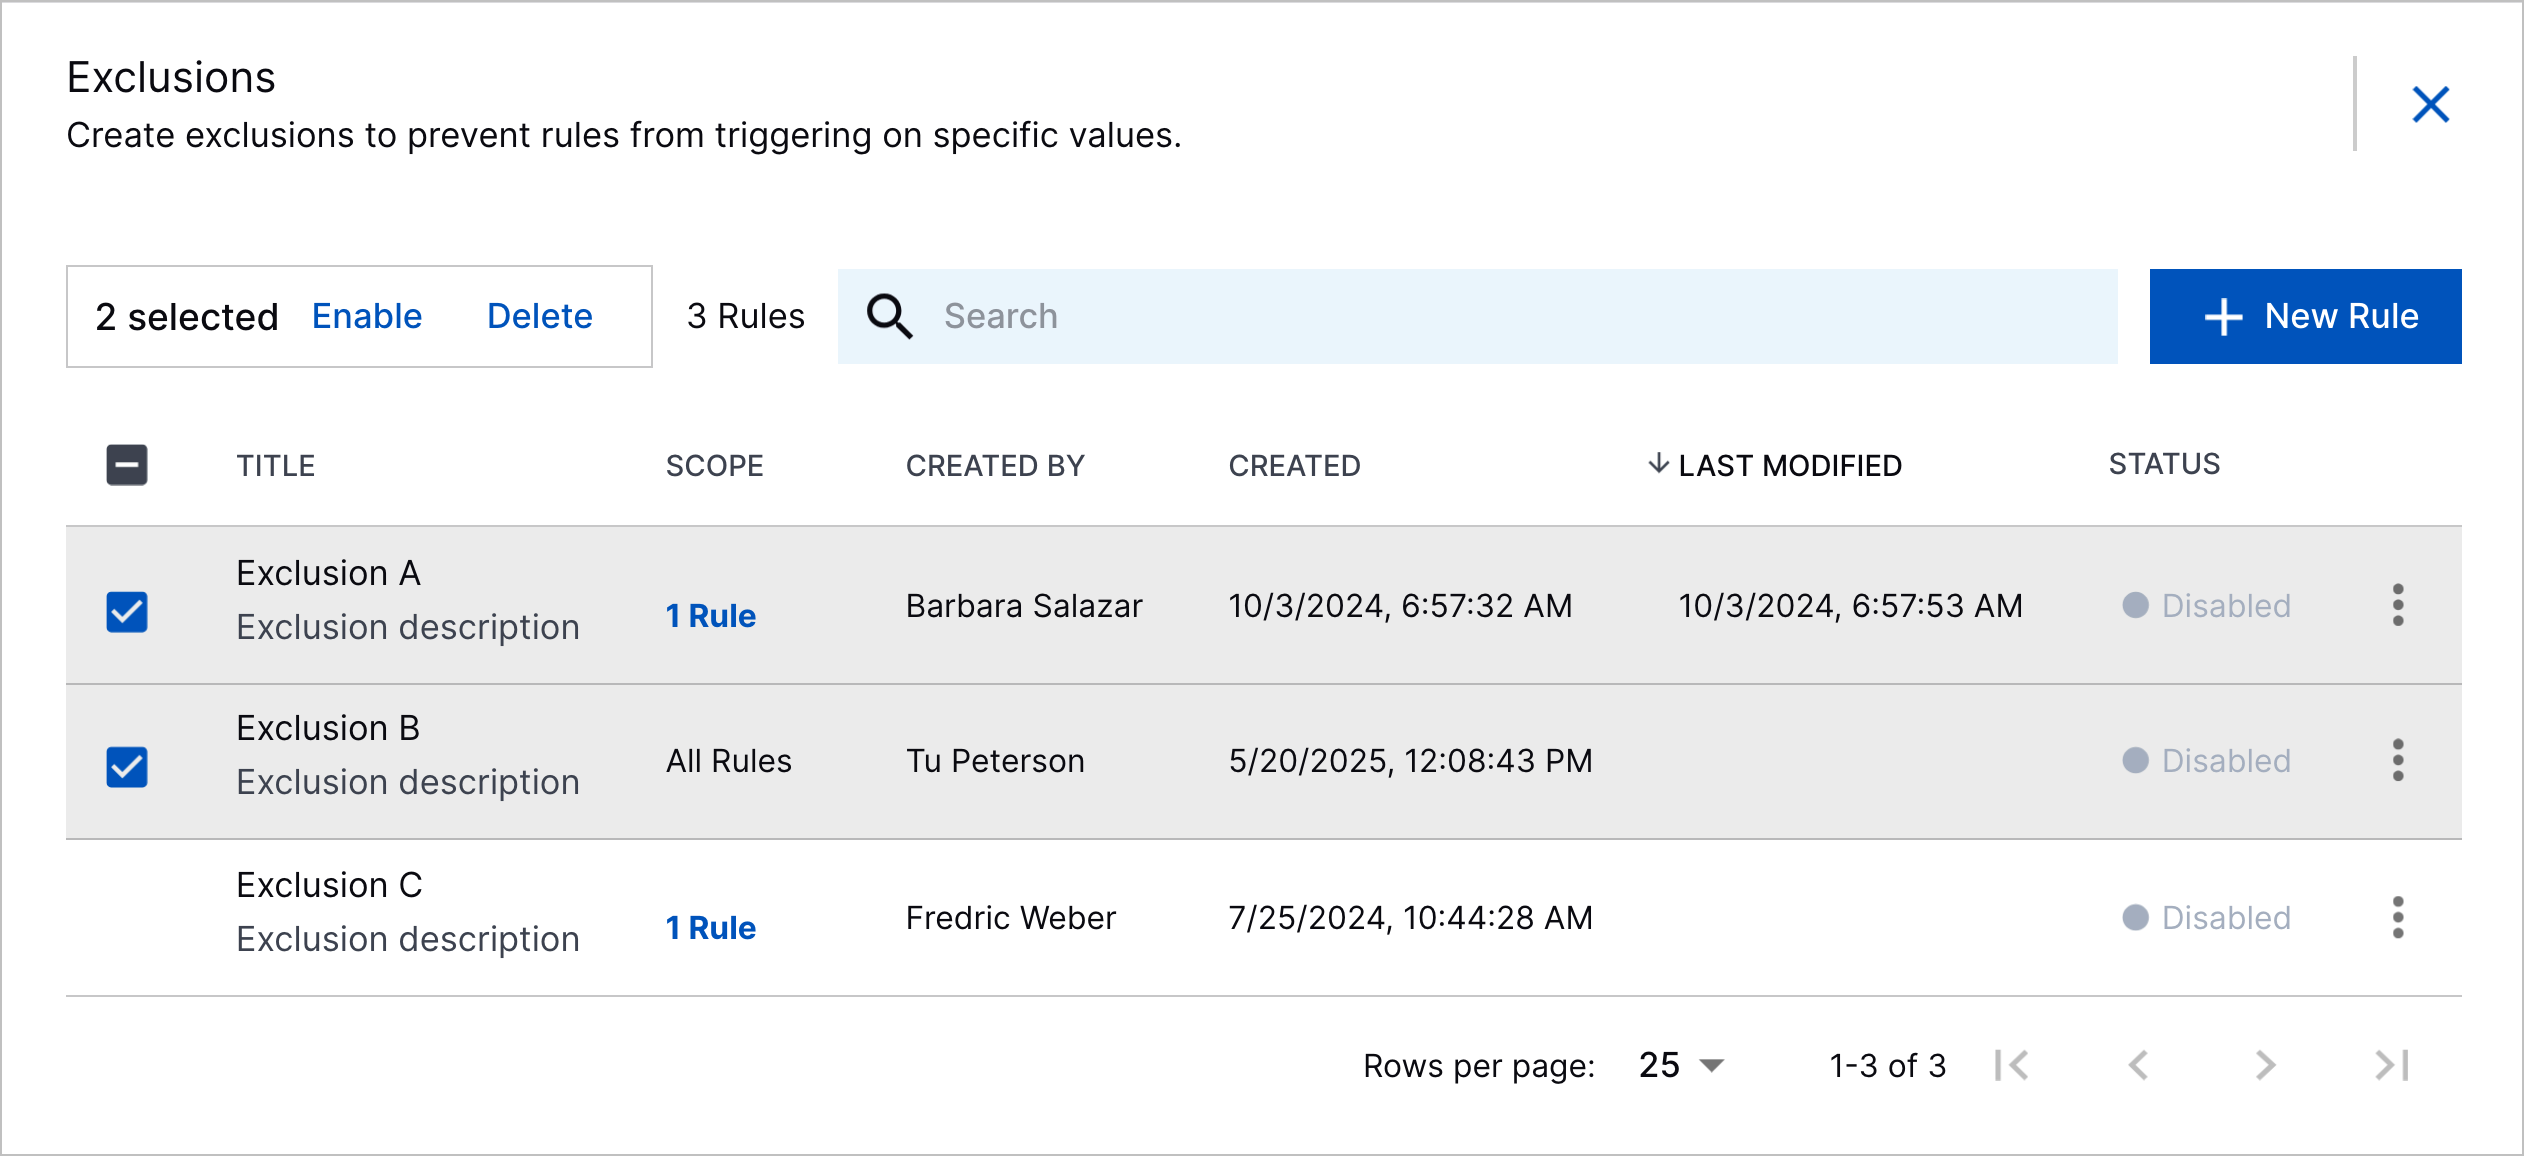
Select the exclusions you're enabling:
To select all exclusions, click the checkbox in the header row.

To select specific exclusions, click the checkbox for each exclusion.

Click Enable.

Click Enable. The analytics engine restarts and re-trains on past events with the exclusions and temporarily stops processing incoming events.
