- Site Collector Overview
- Get Started with Site Collectors
- Install Site Collector
- Set Up Collectors
- Sign Up for the Early Access Program: Site Collectors
- Choose the Right Collector based on Data Sources
- Set Up Archive Windows Collector
- Set Up Archive Linux Collector
- Set Up EStreamer Collector
- Set Up Fortinet Collector
- Set Up IBM Security QRadar Collector
- Set Up Kafka Collector
- Set Up Splunk Collector
- Set Up Linux File Collector
- Set Up Microsoft SQL Collector
- Set Up MySQL Collector
- Set Up Oracle Collector
- Set Up Syslog Collector
- Set Up Windows Active Directory Collector
- Set Up Windows Event Log Collector
- Set Up Windows File Collector
- Manage Site Collectors
- Apply Antivirus Exclusions
- Migrate to the New-Scale Site Collectors Service
- Modify Collector Configuration
- Modify a Site Collector Instance
- Manage Templates
- Monitor Log Sources
- Add Filters to Set Egress Log Filtering Conditions
- New Site Collector Management Service NGSCD
- Regenerate Certificates for Collectors
- Upgrade the Site Collector
- Upgrade the Site Collector Specifications
- Vulnerability Remediation Policy
- Site Collector Monitoring
- Troubleshoot the Site Collector
- Pre-checks failed during Site Collector installation and upgrade
- Site Collector UI shows the status INSTALLATION_ERROR
- Download Support Packages for Troubleshooting
- How to reboot the Virtual Machine (VM) successfully to apply security updates?
- What information must be added while creating a support ticket to resolve an issue?
- Site Collector UI is not displaying the heartbeats
- Splunk Collector can't be set up
- Splunk Collector is set up however, logs are not reaching DL/AA
- Only a few of the installed Splunk Collectors are processing logs or EPS has dropped by 50% as compared to last hour
- The Windows Active Directory Collector (formerly known as LDAP Collector) is set up, however, the context data is not reaching DL/AA
- The Windows Active Directory Collector (formerly known as LDAP Collector) is stuck in the ‘Update’ mode after deployment
- Installation is initiated; however, the collector shows the status as ‘Setting Up’ for some time
- Data Lake and Advanced Analytics Does Not Show Context Data
- Context Data from Windows Active Directory Collector is Segmented
- Minifi Permission Denied - Logback.xml File Missing and Config File Update - Failed Error Occurred while Installing the Windows Event Log Collector
- Where should I upload proxy certificates if I am running proxy with TLS interception?
- How to upgrade Linux collector instance?
Upgrade the Site Collector Specifications
Use one of the following ways to upgrade a VM with Site Collector instance from common specifications to enterprise specifications:
Note
It is recommended to plan ahead and select the correct specification before Site Collector installation and avoid the upgrade process.
Caution
The upgrade process applies to the VMs that are created in GCP using physical ssd mounts. While a generic example is provided, failure risk exists if any step fails, hence someone with VM and Linux expertise is strongly recommended.
New Installation – Create a new VM with enterprise specifications and refresh the new installation to replace the old Site Collector instance.
Reinstallation – Delete the old Site Collector installation, update the VM configuration with enterprise specifications, then install Site Collector.
Manual upgrade of specifications – Use the following procedure to upgrade the specifications for a VM if new installation and reinstallation does not work.
Stop the Site Collector Instance
If your Site Collector instance is not in a stopped state, use the following command to stop the Site Collector instance.
sudo ./ngsccli sitecollector stop
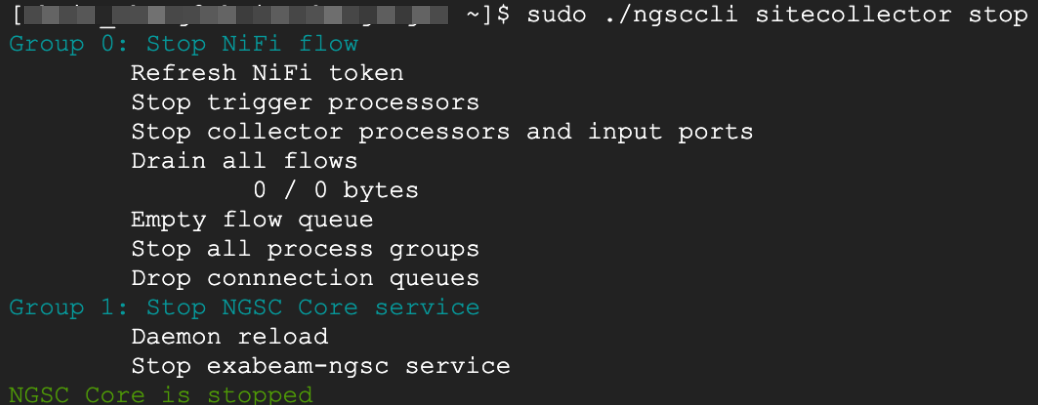
If the Nifi queue contains a large amount of data, draining it takes time. Please wait and avoid terminating the process using Ctrl+C.
Verify if the Site Collector instance has been stopped and the process is inactive by using the following command.
systemctl status exabeam-ngsc

To shut down the VM, in Google Cloud Platform (GCP), navigate to Compute Engine > Virtual machines > VM instances. Then, find and stop the VM instance.

Upgrade the VM with Enterprise Specifications
Use the following steps to upgrade the VM with Enterprise Specifications.
In the Google Cloud Platform (GCP), navigate to Compute Engine > Virtual machines > VM instances. Then, click Edit.
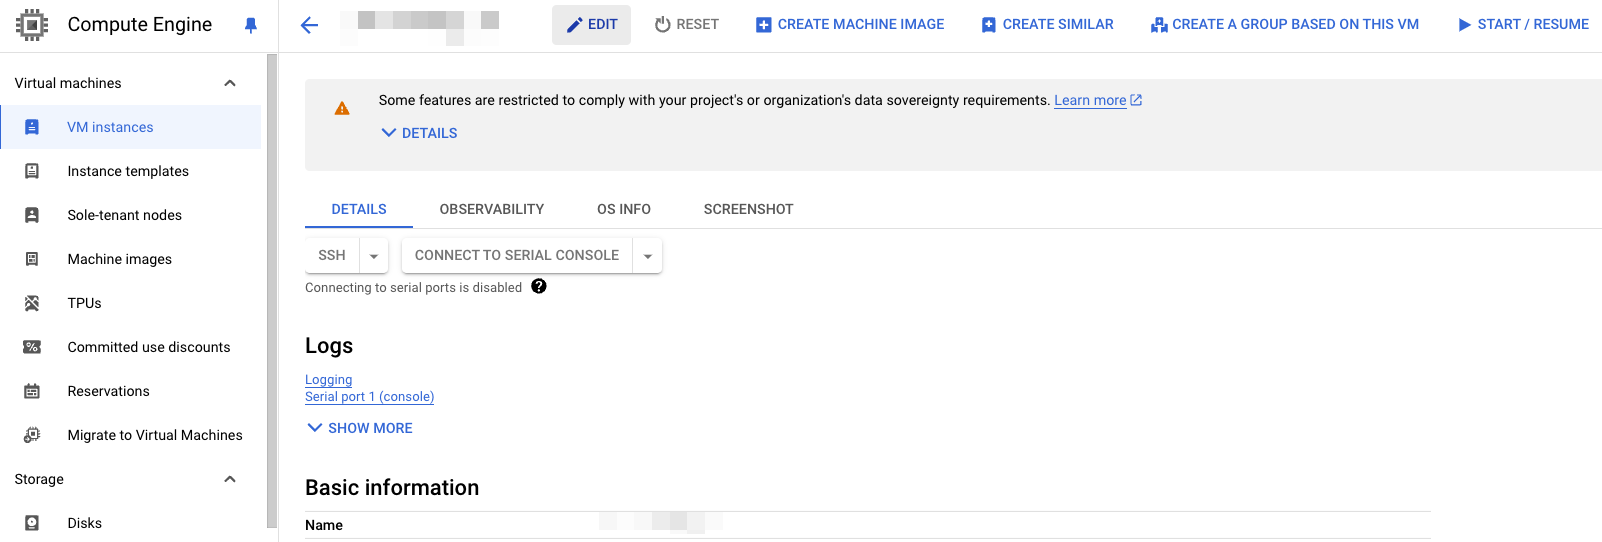
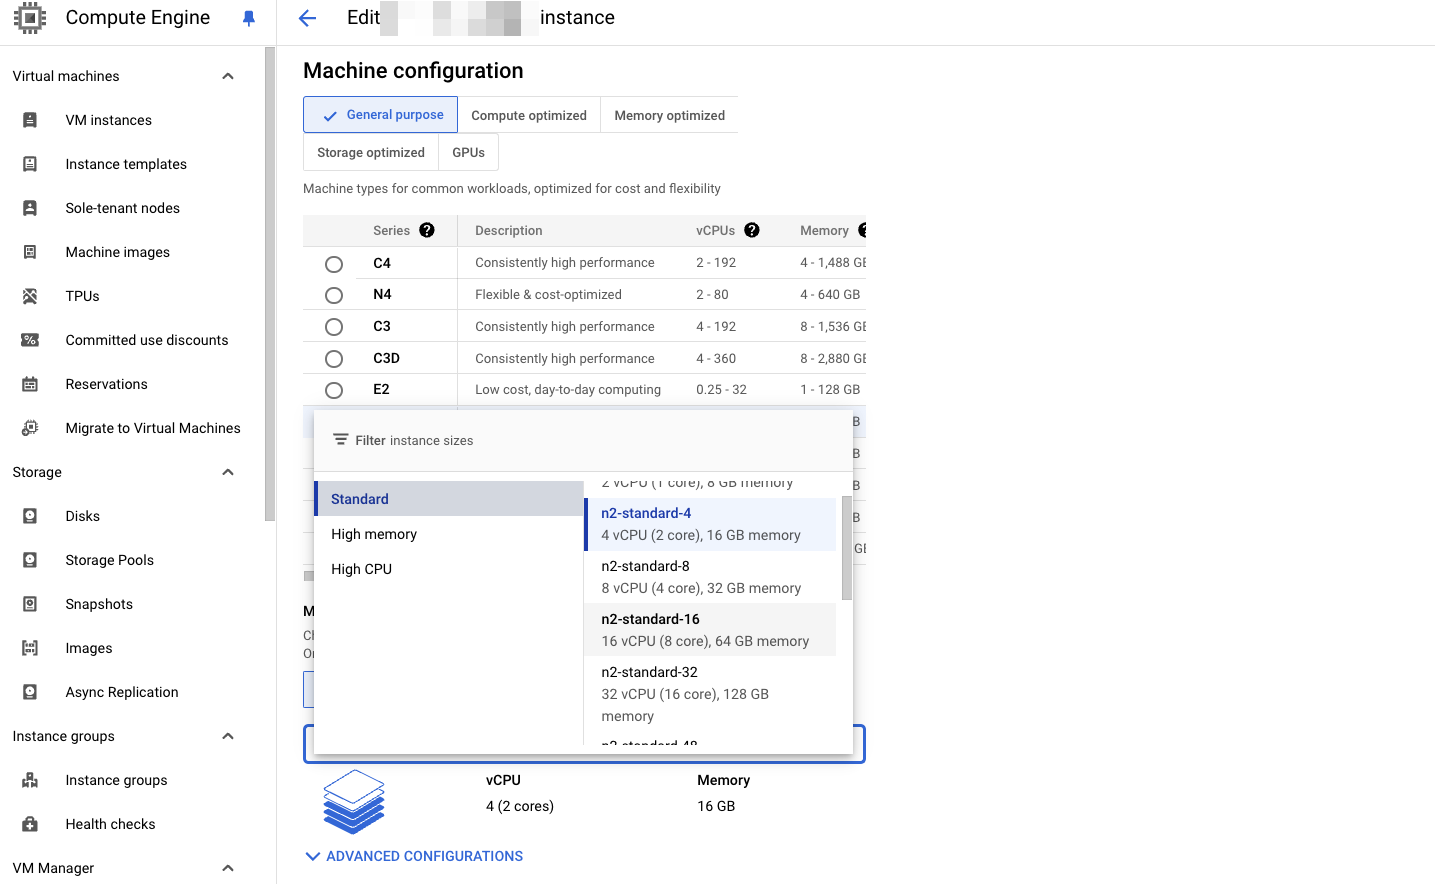
Select a machine type with at least 16 CPU and 32GB memory and save the configuration.
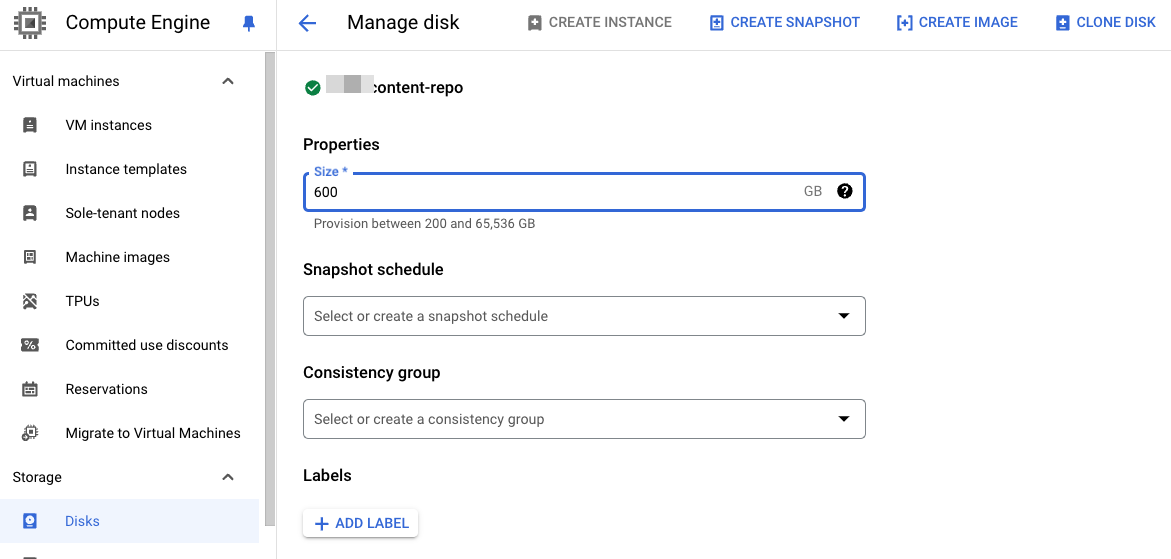
To update the disk size, in the GCP console, navigate to Compute Engine > Storage > Disks, and find the disks used by the VM.
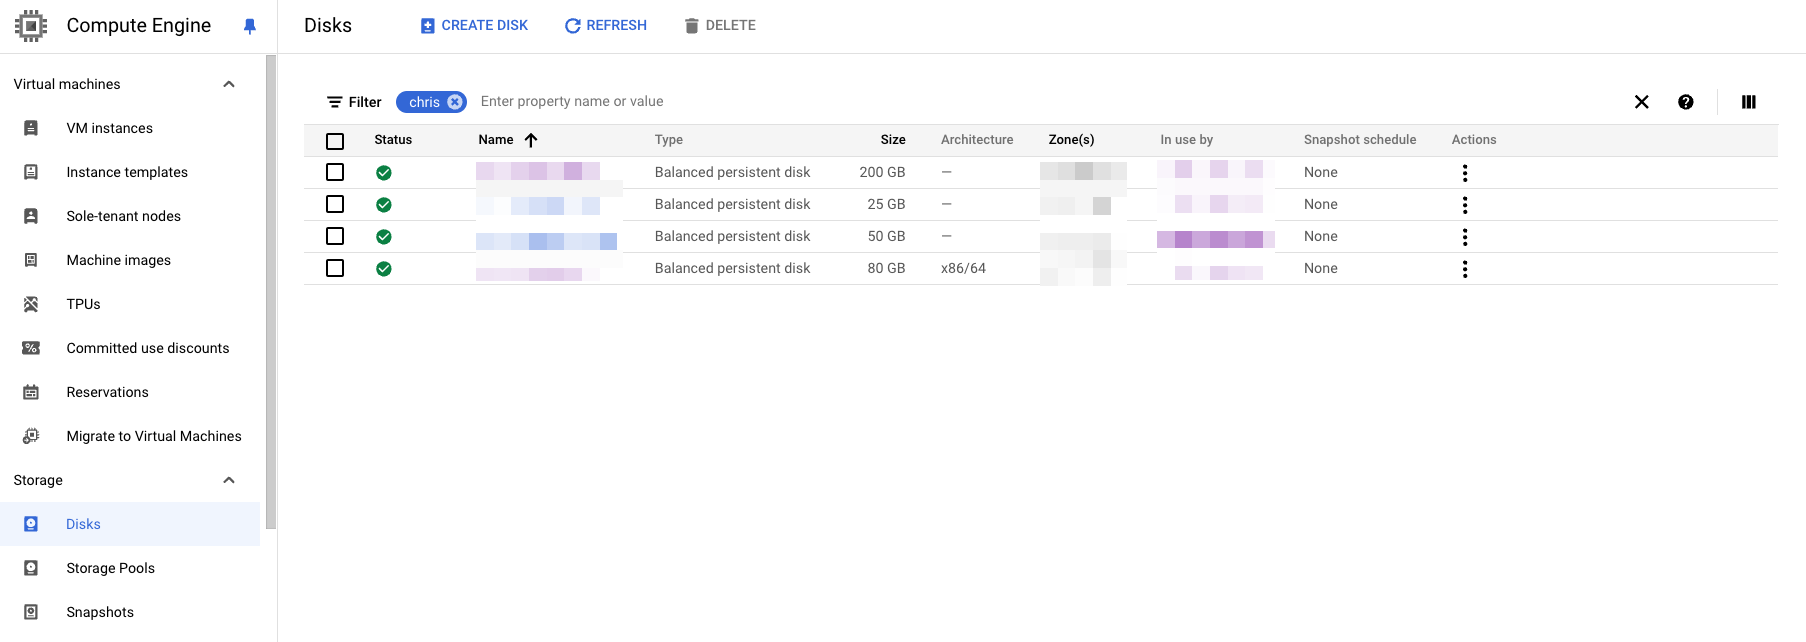
Edit the disk size for each of repository according to the Enterprise Specifications.
flowfile_repository: 75GB
content_repostiroy: 600GB
provenance_respository: 150GB
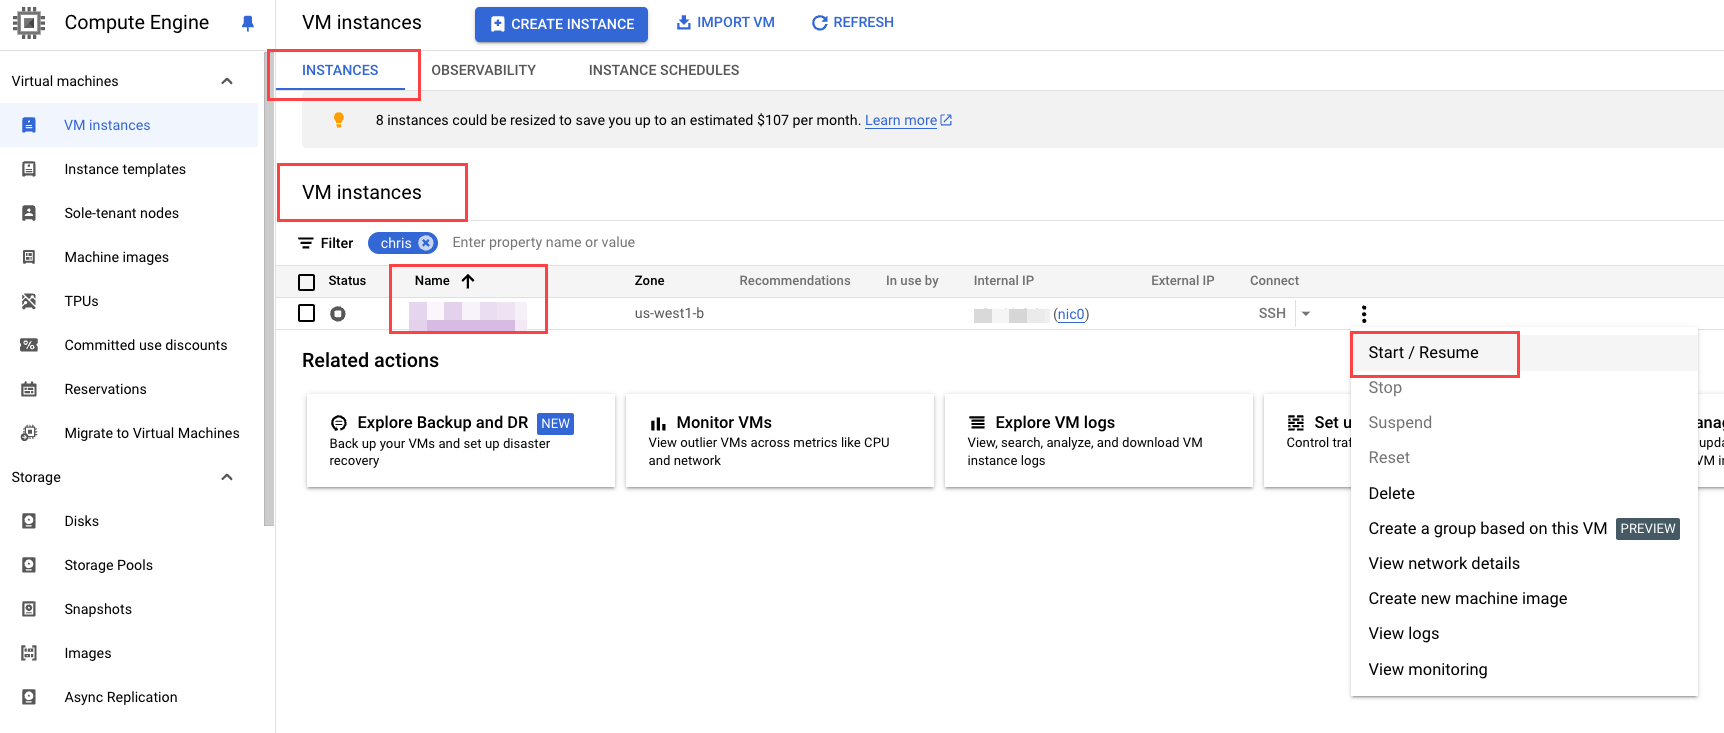
To start the VM, navigate to the VM instances page, and click Start for the selected VM instance.
SSH into the VM and inspect the the disk size by running the
lsblkcommand in shell after the machine is up.
If you did not configure the fstab to map the disks, re-mount the disks before running the precheck.
To verify the enterprise specifications, run the following precheck for enterprise specifications using the following command and verify that the CPU and disk pre-checks are successful.
sudo /opt/exabeam/bin/ngsccli precheck install --enterprise

Upgrade the Site Collector Instance
After verifying the CPU and disk sizes, irrespective of the Site Collector version, run the upgrade command to reconfigure the Site Collector instance to the enterprise specifications.
Restart the Site Collector instance and ensure that the instance is running.
sudo /opt/exabeam/bin/ngsccli sitecollector start
Upgrade the Site Collector instance via user interface to utilize the increased CPU and Memory.
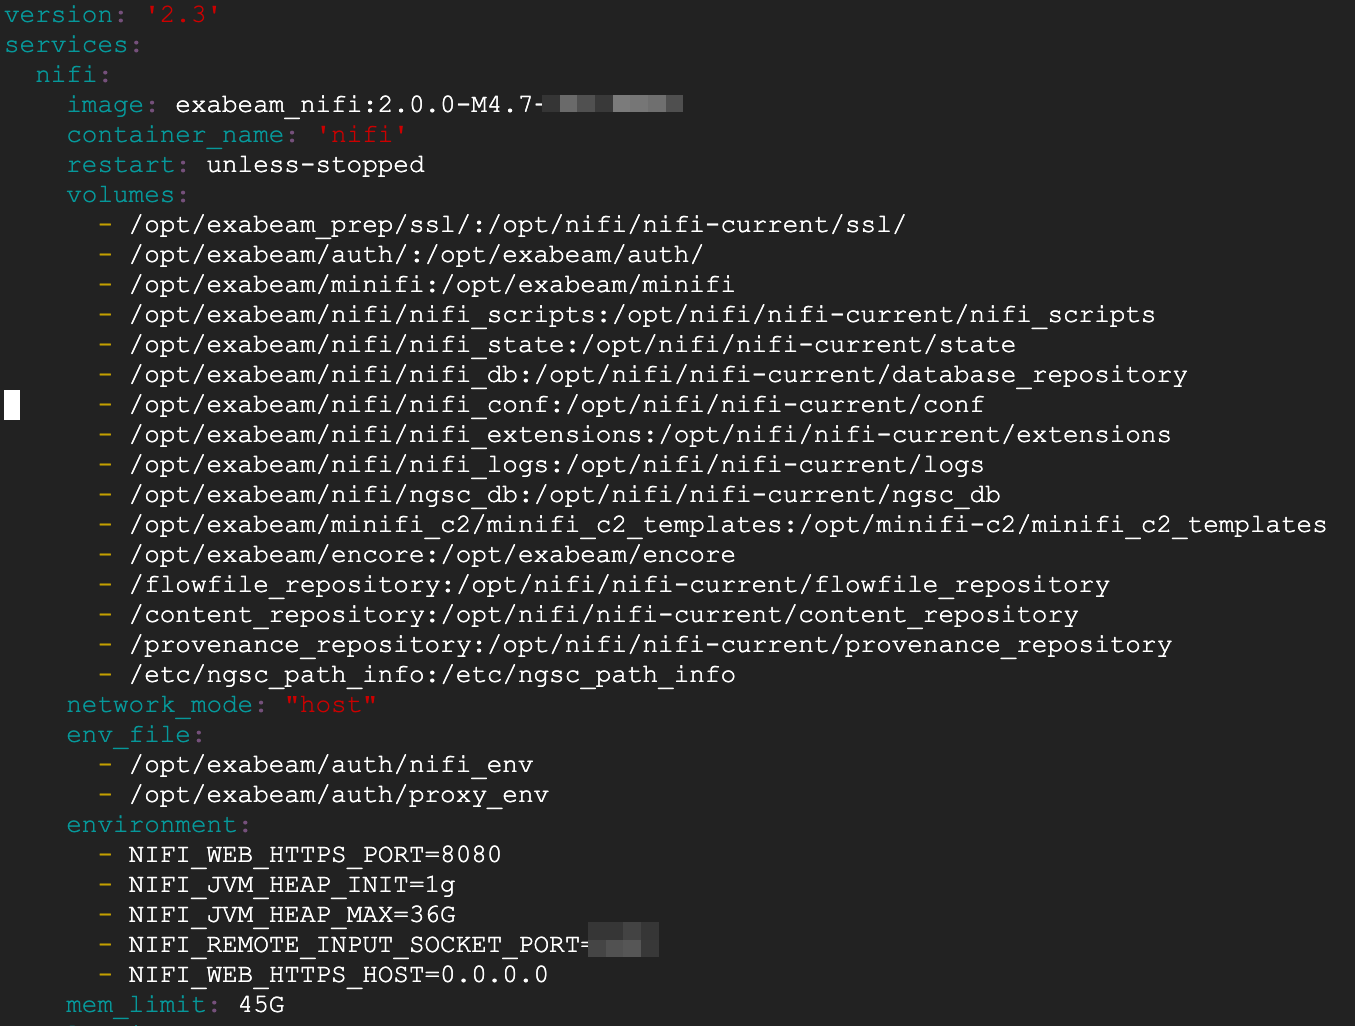
To verify if the Site Collector instance has been upgraded to utilize the additional memory, after the upgrade, check the docker-compose config file using the following command.
sudo less /opt/exabeam/docker-compose.yml
Check the values for NIFI_JVM_HEAP_MAX and mem_limit. NIFI_JVM_HEAP_MAX should be greater than 8g and mem_limit must be greater than 11 g.
This completes the upgrade process.
