
- Get Started with Threat Center
- Threat Center
- Threat Center Permissions
- Threat Center Alerts: Read
- Threat Center Alerts: Read, Write, and Delete
- Threat Center Cases: Read
- Threat Center Cases: Read, Write, and Delete
- Threat Center Detection Grouping Rules: Read
- Threat Center Detection Grouping Rules: Read, Write, and Delete
- Threat Center Watchlist: Read
- Threat Center Watchlist: Read, Write, and Delete
- Threat Center Cases
- Threat Center Alerts
- Threat Center Detections
- Threat Center Risk Score
- Configure Threat Center
- Monitor Entities of Interest in Threat Center
- Work on Cases
- Work on Alerts
- Edit and Collaborate in Threat Center
- Use Automation Tools in Threat Center
- Find Cases and Alerts
- View Case and Alert Metrics
- Get Notified About Threat Center
- Threat Center APIs
Manually Create a Case
Create a case to start tracking your response to a threat and assign the case to the person responsible for responding.
You can also create a case automatically using Correlation Rules or Automation Management playbooks or convert an alert to a case.
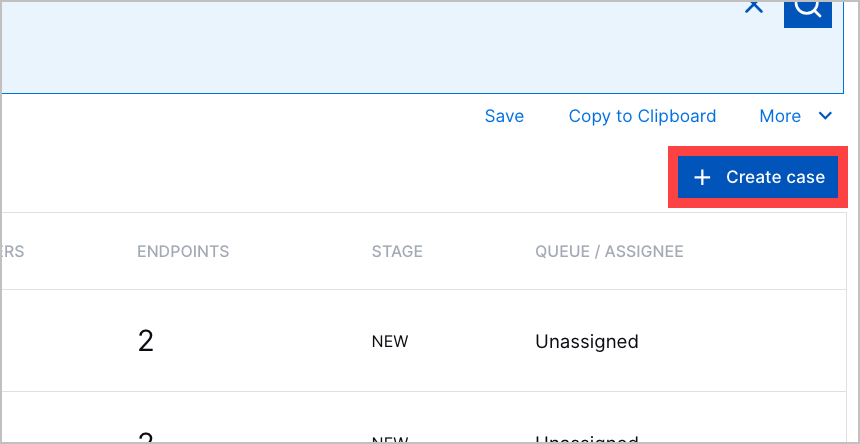
In the Cases tab, click + Create case.
Enter information about the case:
Name – Enter a case name.
Briefly explain this alert – Enter a case description. To better communicate your message, you can also format the text.
Stage – Select a case stage. If you select CLOSED, in Type a reason, enter why you're closing the case. To better communicate your message, you can also format the text.
Queue – Assign the case to the queue responsible for responding.
Assignee – Assign the case to the person responsible for responding.
Priority – Select the case priority: Low, Medium, High, or Critical. The case priority determines the case risk score:
Low – The case is assigned a risk score of 25.
Medium – The case is assigned a risk score of 50.
High – The case is assigned a risk score of 75.
Critical – The case is assigned a risk score 100.
Users – Manually add user entities to the case:
Click + Add User.
Enter a search for a full name, username, or email address.
For a user entity, click Add. You can't add an entity that is already associated with the case.
(Optional) Under Reason for adding (optional), enter an explanation for why you're adding the entities to the case. The reason is shown in the case history for this action.
Click Add to Case.
Devices – Manually add device entities to the case:
Click + Add Device.
Enter a search for a hostname, IP address, or MAC address.
For a device entity, click Add. You can't add an entity that is already associated with the case.
(Optional) Under Reason for adding (optional), enter an explanation for why you're adding the entities to the case. The reason is shown in the case history for this action.
Click Add to Case.
MITRE TTPs – Select the MITRE ATT&CK® techniques that best describe the case.[5]
Use Cases – Select the use cases that best describe the case.
Custom Tags – Select or create relevant tags.
Click Create Case.
[5] MITRE ATT&CK and ATT&CK are trademarks of The MITRE Corporation ("MITRE"). Exabeam is not affiliated with or sponsored or endorsed by MITRE. Nothing herein is a representation of the views or opinions of MITRE or its personnel.