- Advanced Analytics
- Understand the Basics of Advanced Analytics
- Configure Log Management
- Set Up Admin Operations
- Set Up Authentication and Access Control
- Additional Configurations
- Configure Rules
- Exabeam Threat Intelligence Service
- Threat Intelligence Service Prerequisites
- View Threat Intelligence Feeds
- Threat Intelligence Context Tables
- View Threat Intelligence Context Tables
- Assign a Threat Intelligence Feed to a New Context Table
- Create a New Context Table from a Threat Intelligence Feed
- Check ExaCloud Connector Service Health Status
- Exabeam Cloud Telemetry Service
- Manage Security Content in Advanced Analytics
- Health Status Page
Import Data into a Context Table Using CSV
This is the most flexible method to create custom context tables as the CSV file can contain any category or type of data that you wish to monitor.
From the Settings menu, navigate to Analytics > Accounts & Groups > Context Tables, and then click the Context Tables tab.
The list of existing context tables appears.
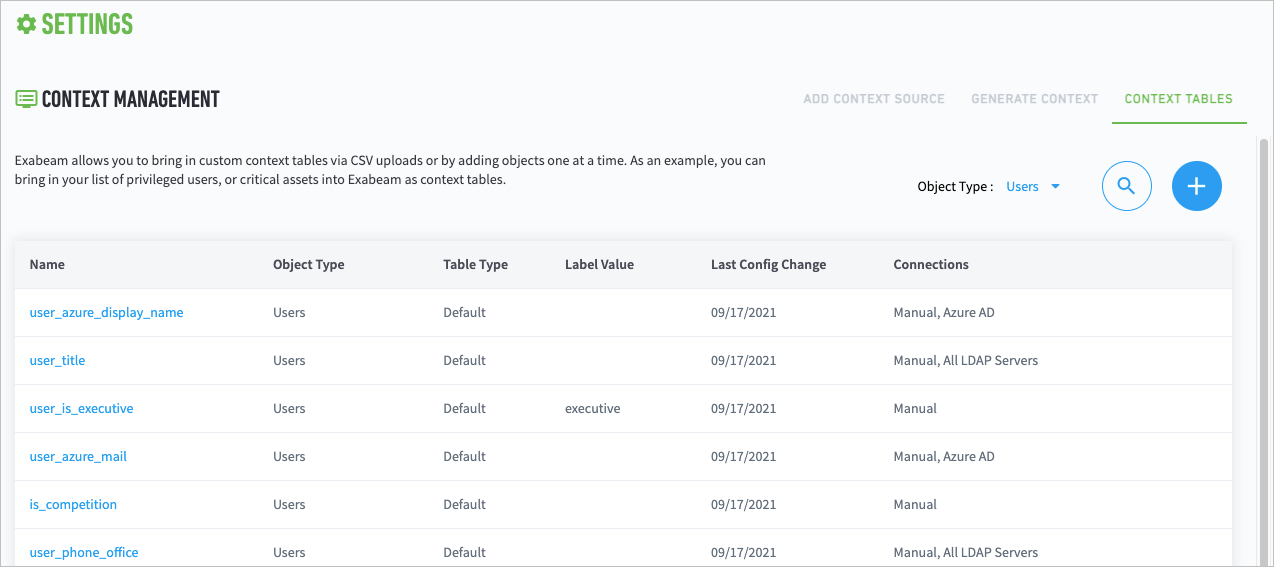
Click the name of the table into which you want to import the CSV file.
The set up page for the context table appears.
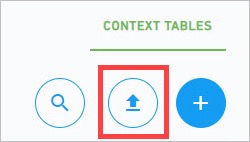
Click the Upload Table icon.
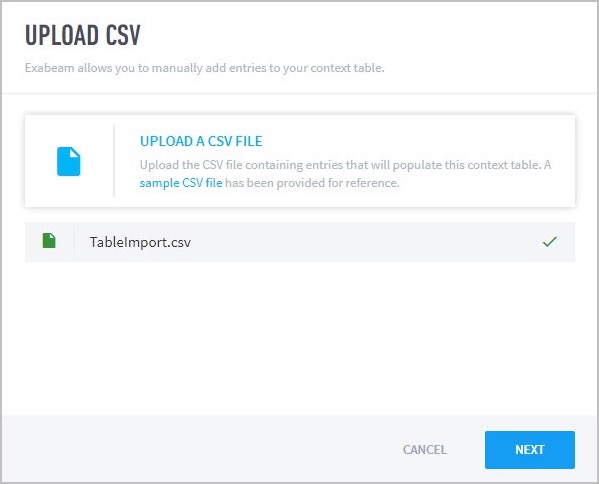
Click Upload CSV. From your file system, select the CSV file you wish to import, then select Next.
Note
Key and value (2 fields) tables require a header first row. Do not include a header for keys-only CSV files (1 field). Table names may be alpha-numeric with no blank spaces. (Underscore is acceptable.)
Inspect the contents that will be added to your table. Select Apply Changes, when you are done.
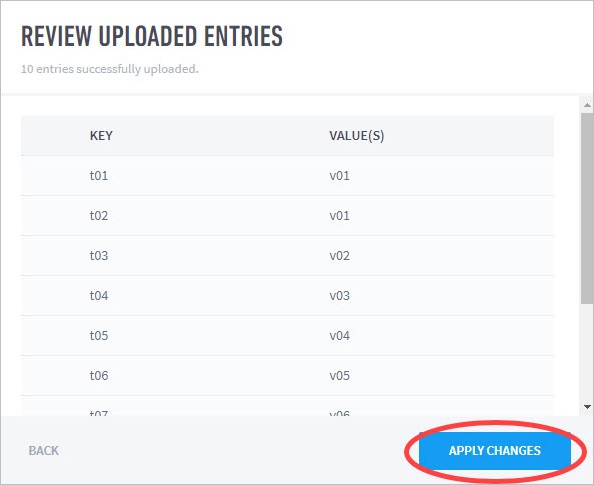
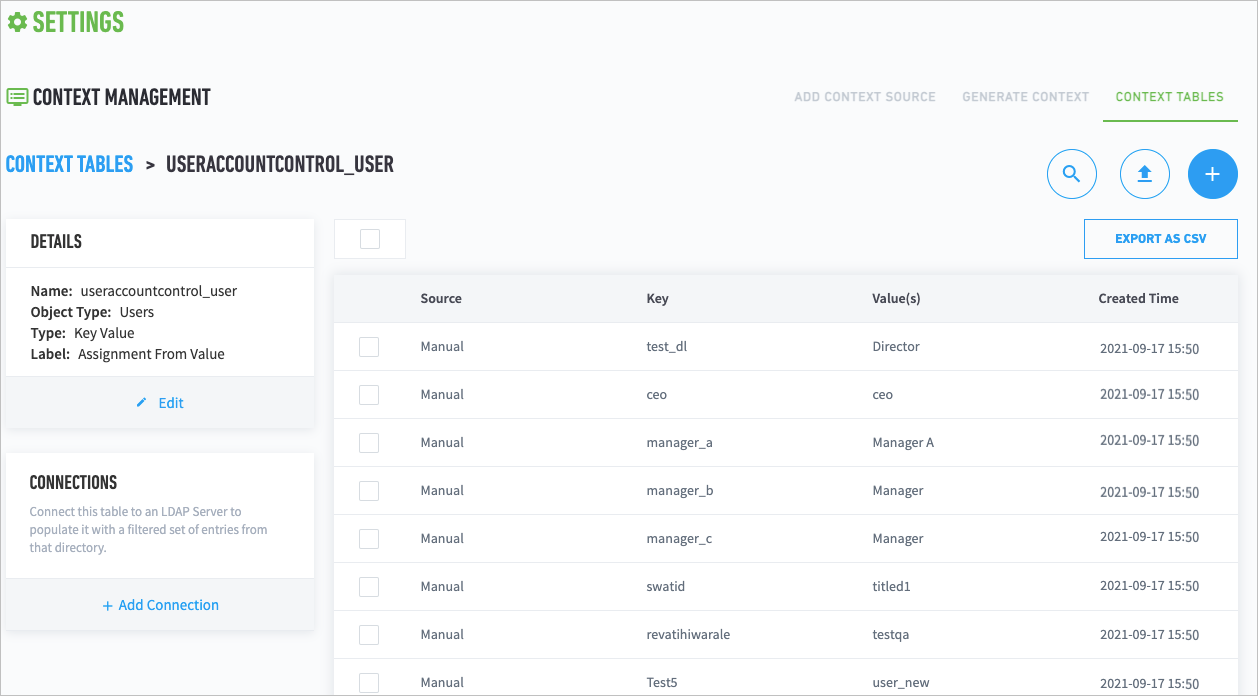
Once context has been integrated, it is displayed in the table. You can use the lookup tables in rules as required.
Note
The Created Time column displays the time that the CSV file was uploaded. Context values may change over time. For example, a user's role may change within an organization, in which case the value for the user's job title would depend on when the context was uploaded. The Created Time field helps to explain such changes in values.
For assistance in creating custom context tables, contact Exabeam Customer Success by opening a case at Exabeam Community.